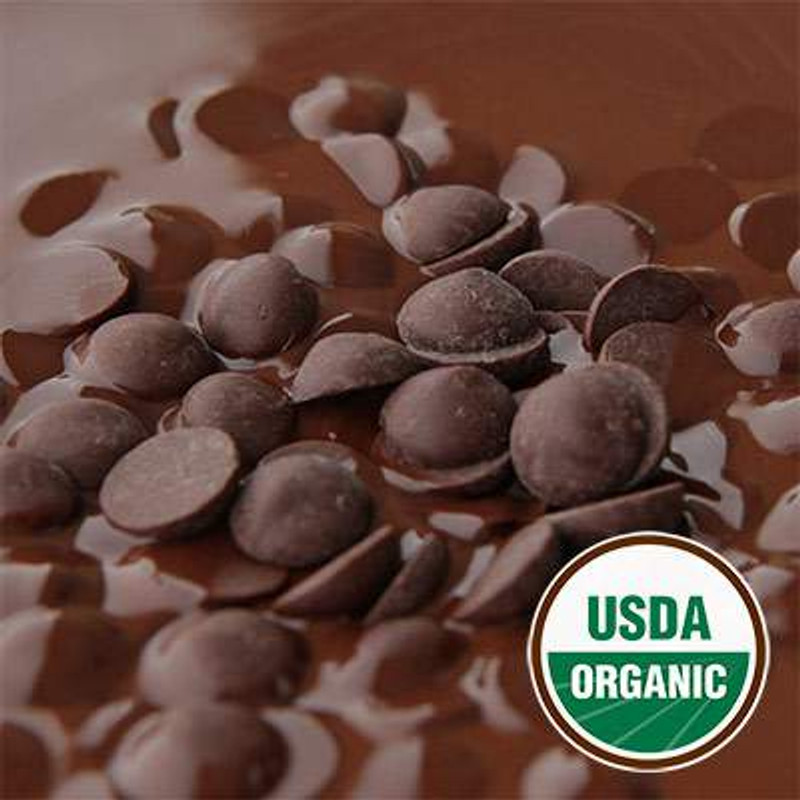
Melting chocolate sounds simple but small mistakes can ruin the texture, and shine. If you want smooth, glossy results, you need to follow the best way to melt chocolate, and understand the right melting point of chocolate.
Whether you're making candies, truffles, or melting chocolate for dipping, getting the process right makes a big difference. Once you start making chocolate at home, store-bought options won’t feel the same.
This guide walks you through everything step by step from melting basics to tempering and common mistakes.
What Does Tempering Chocolate Mean?
Tempering is the process of heating, and cooling chocolate in a controlled way. This helps form stable cocoa butter crystals which give chocolate its shine, smooth texture, and snap.
When chocolate is tempered properly, it:
- Looks glossy
- Breaks cleanly
- Melts evenly in your mouth
- Holds its shape at room temperature
Tempering depends heavily on staying within the correct melting point of chocolate range. If temperatures go too high or too low, the structure breaks.
Does Your Chocolate Need to Be Tempered?
Not all chocolate needs tempering.
You do not need to temper:
- Candy melts
- Compound chocolate
- Coating chocolate
These products contain oils instead of cocoa butter so they melt easily.
You do need to temper:
- Real dark chocolate
- Milk chocolate
- White chocolate
If you're making molded chocolates, bars or decorations, tempering is required for the best results.
Melting Chocolate vs. Tempering Chocolate
Melting chocolate and tempering chocolate are not the same.
Melting chocolate is simply heating it until it becomes liquid. This works well for:
- Sauces
- Baking
- Mixing into batters
Tempering goes further. It controls how the chocolate cools, and resets.
If chocolate is melted but not tempered:
- It may look dull
- It can develop white streaks (bloom)
- It won’t snap properly
Tempered chocolate:
- Has a shiny finish
- Feels smooth
- Sets evenly
Understanding this difference helps you choose the right method for your recipe.
Step-By-Step Chocolate Melting Guide
If you're learning what to use for melting chocolate, start with simple tools and follow these steps carefully.
Getting Ready to Melt Chocolate
Preparation matters more than most people think.
- Chocolate chips are easy to melt because they are already small
- Chocolate bars should be chopped into small pieces
- Smaller pieces melt faster and more evenly
This step is especially helpful when you're melting chocolate for dipping, where smooth texture is important.
How to Melt Chocolate on Stove (Double Boiler Method)?
Using a double pot is one of the best ways to do it. These steps are the best way to melt chocolate on stove.
What You Need
- A saucepan
- A heat-safe bowl
- Water
Steps
- Fill saucepan with a small amount of water
- Place the bowl on top (it should not touch the water)
- Heat the water gently (do not boil)
- Add chocolate to the bowl
- Stir slowly as it melts
The heat from the steam melts the chocolate evenly without burning it.
Important Tips
- Do not let water touch the chocolate
- Keep all tools dry
- Stir gently, and consistently
This method works well when you want controlled melting and smooth results.
Melting Chocolate in the Microwave
The microwave is quick and simple especially for beginners.
Steps
- Place chocolate in a microwave-safe bowl
- Heat at 50% power
- Stop every 30 seconds
- Stir each time
This helps prevent overheating. The microwave is the easiest option when you're working with small batches, or testing melting chocolate for dipping.
Ideal Chocolate Melting Temperature
Knowing the right temperature is key.
The general melting point of chocolate depends on the type:
- Dark chocolate: around 115°F
- Milk chocolate: around 110°F
- White chocolate: around 105°F
Chocolate can burn, and turn thick, or grainy if it gets above 112°F.
For best results:
- Use low heat
- Stir often
- Stop heating when 80% melted
The remaining heat will melt the rest.
Tempering Chocolate (3 Simple Steps)
Tempering involves three stages:
-
Heating
Melt the chocolate gently until fully liquid.
-
Cooling
Let it cool down to around 82°F. This helps form stable crystals.
-
Reheating
Warm it slightly to working temperature:
- Dark - 88°F
- Milk - 87°F
- White - 86°F
Once done, your chocolate is ready for dipping, molding, or coating.
Difference Between Chocolate Chips & Baking Chocolate
Chocolate chips, and baking chocolate behave differently.
Chocolate Chips:
- Contain stabilizers
- Hold their shape
- Melt slower
Baking Chocolate:
- Fewer additives
- Melts smoother
- Better for tempering
If you're focused on melting chocolate for dipping, baking chocolate gives better results.
Different Ways to Melt Chocolate at Home
Here are the most common methods:
Stove Method (Double Boiler)
Best for control, and even heating.
Microwave Method
Quick and easy for small batches.
Both methods work well depending on your needs.
Common Mistakes to Avoid While Melting Chocolate
Avoiding these mistakes will save your chocolate.
-
Using the Wrong Chocolate
Choose high-quality chocolate with real cocoa butter.
-
Overheating
Even a few seconds can burn chocolate. Stay within the safe melting point of chocolate.
-
Adding Water
Water causes chocolate to seize and turn grainy.
-
Not Stirring Enough
Stirring helps distribute heat evenly.
-
Wet Tools or Molds
Always keep tools dry when melting chocolate for dipping or molding.
Melting Chocolate – Don’t Use Wet Molds
If you're using molds, make sure they are completely dry.
Water and chocolate do not mix well. Even a small amount of moisture can:
- Make chocolate thick
- Ruin texture
- Cause clumping
Always wipe molds before use.
Incorrect Temperature
Temperature control is everything.
If you don’t stay within the correct melting point of chocolate, you may end up with:
- Burnt chocolate
- Grainy texture
- Dull finish
Using a thermometer helps keep things accurate.
Freezing Chocolate (Is It a Good Idea?)
Cooling chocolate too fast can affect the texture.
It’s better to:
- Let chocolate set at room temperature
- Avoid fridge, or freezer when possible
Slow cooling helps to maintain shine, and structure.
Helpful Tips for Better Results
- Stop heating when chocolate is 80% melted
- Stir until fully smooth
- Use clean, dry tools
- Choose good-quality chocolate
These small steps make a big difference.
Time to Melt Chocolate the Right Way
You can now get smooth, and shiny results at home since you have the right tools, techniques, and understanding of the melting point of chocolate. Small things like controlling the heat and keeping your tools dry are very important when you're melting chocolate for dipping, making sweets, or trying your first batch of molded treats.
Start with good-quality chocolate, follow the right temperature, and use the method that works best for you either learning how to melt chocolate on stove or using the microwave for quick results.
If you're looking for reliable chocolate for baking and candy making, check out Santa Barbara Chocolate’s selection. Using the right chocolate makes the process easier and the final result much better.
Frequently Asked Questions (FAQ)
What is the melting point for chocolate?
The melting point changes based on the type of chocolate. Dark chocolate usually melts around 115°F (46°C), milk chocolate around 110°F (43°C), and white chocolate around 105°F (40°C). Staying within this range helps keep texture smooth, and prevents burning.
How to thin melted chocolate?
Adding a little cocoa butter to melted chocolate can make it less thick if it feels too thick. You can also change the flow with a little neutral oil. Add slowly and mix it in until it's smooth and easy to work with especially for dipping or covering.
What chocolate melts faster?
White chocolate melts the fastest because it has a lower cocoa solids content. Milk chocolate follows while dark chocolate takes slightly longer due to higher cocoa content. Finely chopped chocolate also melts quicker than large chunks.
Can I add water to melted chocolate?
No, water should not be added to melted chocolate. Even a small amount can cause the chocolate to seize, turning it thick, and grainy. If needed, use cream, or milk instead for smoother blending.
How long does melted chocolate take to set?
Melted chocolate usually sets within 10 to 30 minutes at room temperature. Thicker layers take longer. Cooling in a stable, dry environment helps it set evenly without streaks, or dull spots.
Will melted chocolate harden at room temperature?
Yes, melted chocolate will harden at room temperature if it cools properly. Tempered chocolate sets with a smooth finish, and snap while untempered chocolate may set softer or appear dull.
