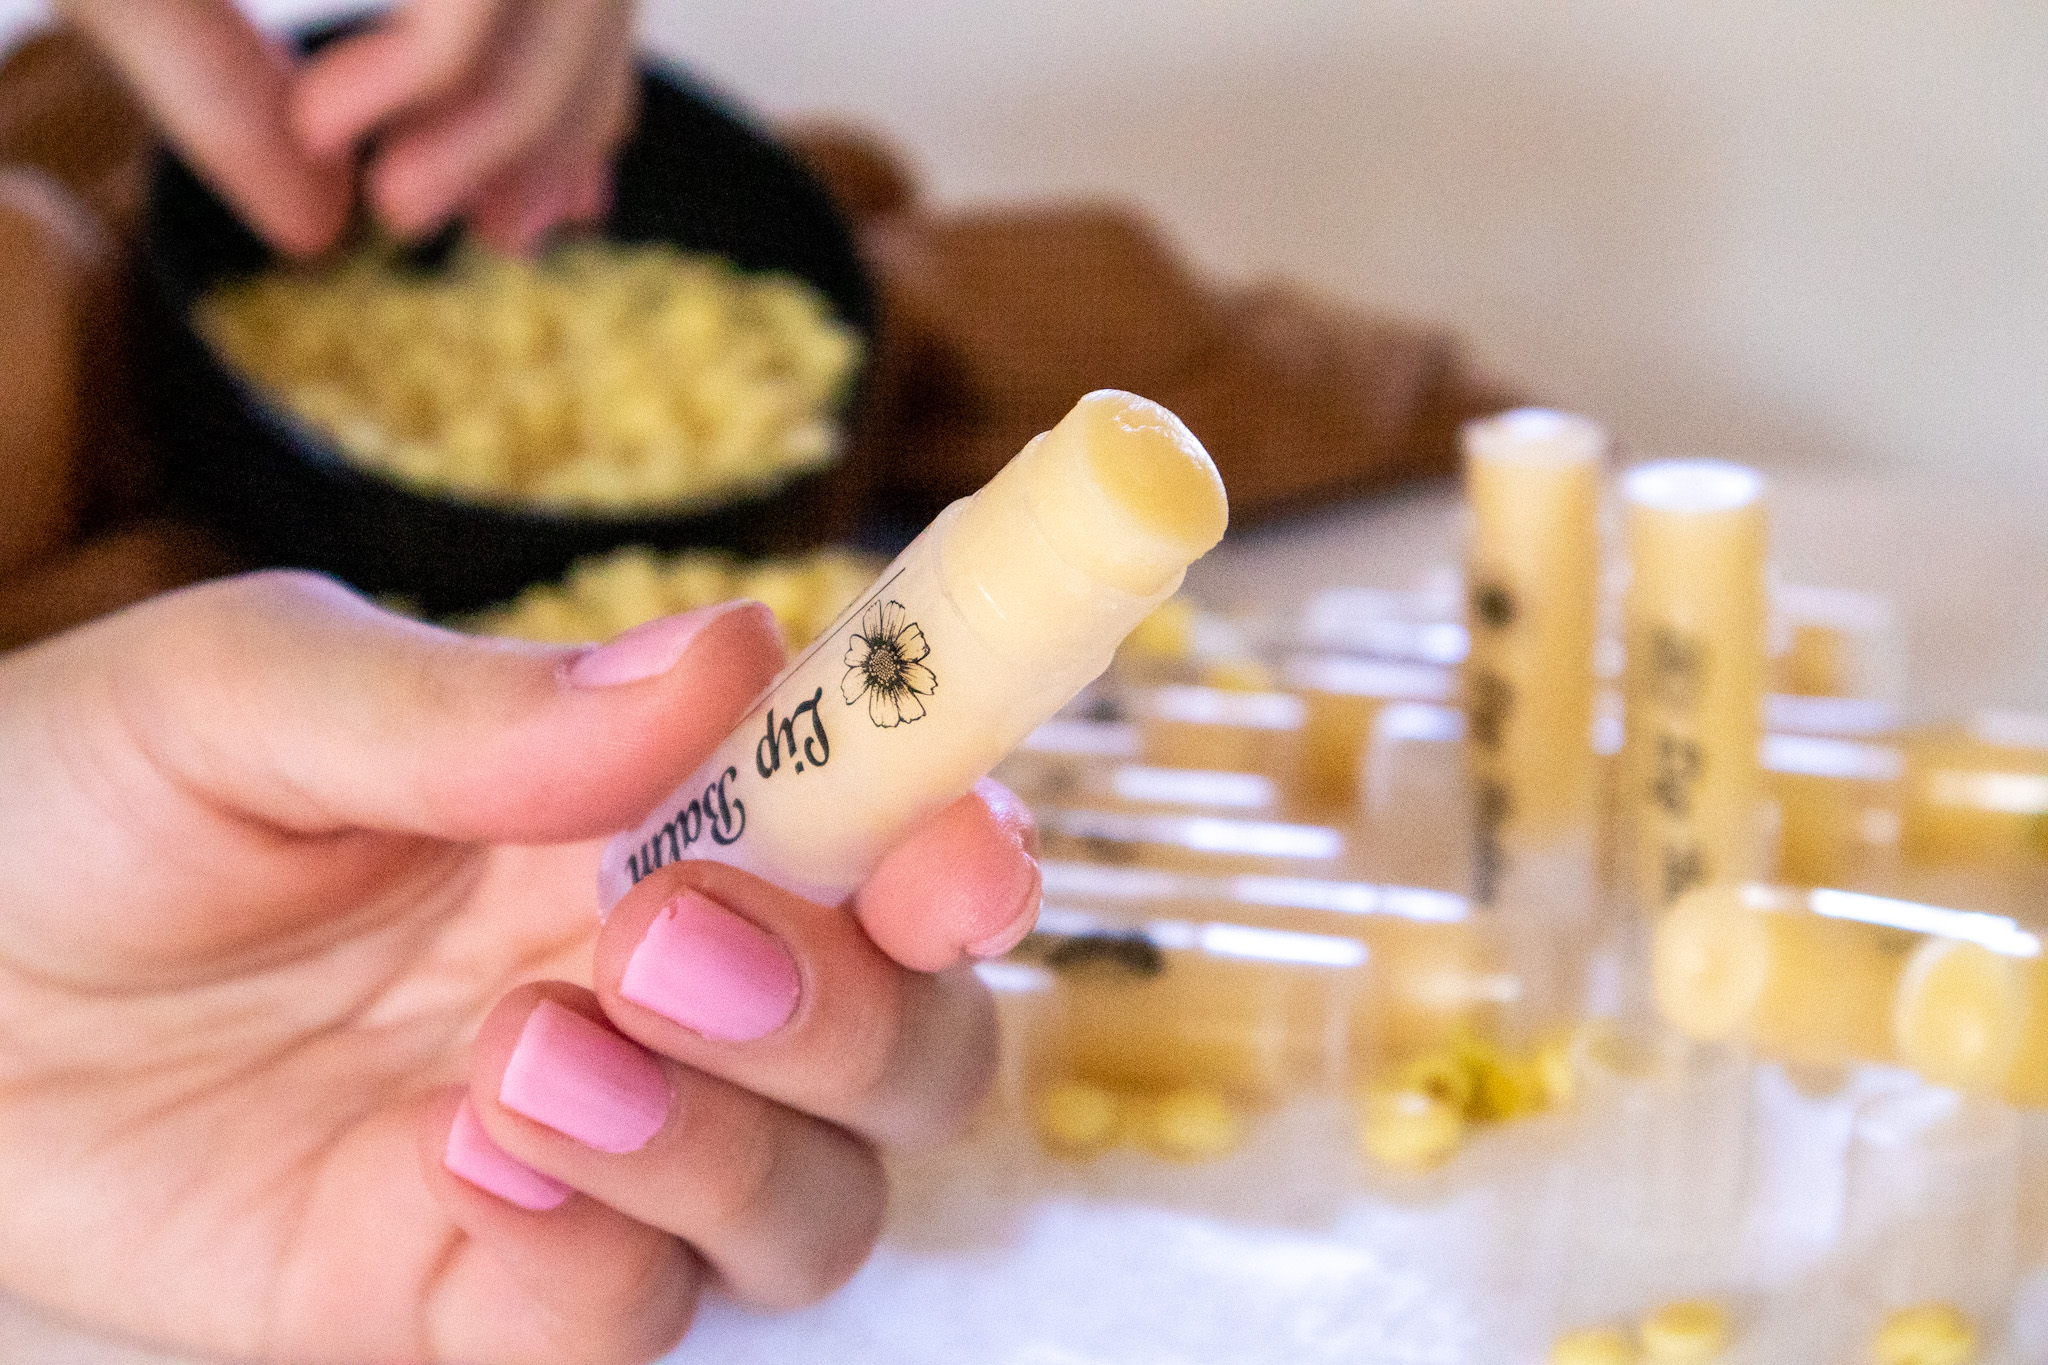
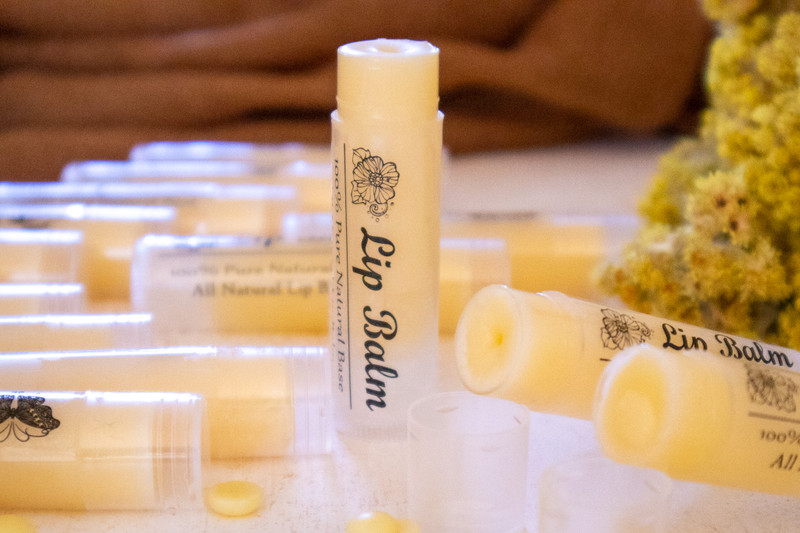
Homemade Cocoa Butter Lip Balm
If you enjoy making simple things at home, this cocoa butter lip balm is a fun and easy project. It takes just about an hour and gives you smooth, soft lip balms that feel nice and smell great. You don’t need any fancy tools just a few basic ingredients and a calm afternoon to mix them together.
Making your own lip balm lets you choose what goes into it. You can use natural ingredients, skip artificial scents, and even pick your favorite flavor. These lip ba lms make great gifts too perfect for holidays, birthdays, or small thank-you surprises.
What Makes This Lip Balm Special?
Cocoa butter gives the balm a silky feel and a light chocolate scent that many people love. When combined with a carrier oil like sweet almond oil, it spreads easily and gives your lips a smooth texture. Beeswax or almond wax helps the balm stay firm and gives it that classic lip balm consistency.
The best part about making this at home is how easy it is to adjust the recipe. Add a little more oil if you want it softer. If you prefer a firmer balm, use a little more wax. You can even add natural flavor oils or a touch of syrup for sweetness.
Ingredients You’ll Need
This recipe makes about 20 to 24 small lip balms, depending on the size of your containers.
- 100 grams of sweet almond oil (or another carrier oil like jojoba or coconut oil)
- 60 grams (about ¼ cup) of cocoa butter chips
- 80 grams of beeswax or almond wax
- 3 grams of vitamin E oil drops
- 1 teaspoon maple syrup (optional, for mild sweetness)
- 12 drops of orange essential oil (optional, for a light flavor)
All these ingredients are easy to find online or at craft and natural supply stores.
Step-by-Step Preparation
- Set up your double boiler.
Place a bowl that can handle heat over a pot of water that is just barely boiling. The bowl shouldn't touch the water; it should sit on top of it. This helps the ingredients melt evenly without getting too hot. - Add the ingredients.
Put the beeswax (or almond wax) in the bowl first. Allow it to melt slowly, stirring every now and then. Once the wax starts to melt, add the cocoa butter chips. - Add the carrier oil.
Pour in the sweet almond oil and stir gently. The mixture will begin to look smooth and glossy as the ingredients combine. Keep the heat low so nothing overheats. - Add the remaining ingredients.
Remove the bowl from the heat once everything has melted. You may taste it after adding the vitamin E oil, and if you'd want, you can also add maple sugar and orange essential oil. Mix everything well with a spatula so the ingredients are evenly blended. - Pour into containers.
Using a small funnel or oral syringe, carefully fill your lip balm tubes or small tins. Fill them up to the top because the mixture will shrink a little as it cools. - Let them set.
You can put the bowls in the fridge for 10 minutes or leave them out on the counter for an hour. At that point, the balm is ready to be used.
Tips for Making Lip Balm at Home
- Test the texture: Before pouring all of it into containers, test a small amount by letting it cool on a spoon. If it feels too firm, add a bit more almond oil and melt again. If it feels too soft, melt in a little more wax.
- Flavor ideas: Instead of orange essential oil, try peppermint, vanilla, or even a hint of cinnamon. Just a few drops go a long way.
- Customize your look: You can tint your lip balm with a tiny bit of cosmetic-grade mica powder or beetroot powder if you’d like a touch of color.
- Put the finished balms away in a cool, dry place. If your house is warm, put them in the fridge to keep them frozen.
- Gift idea: Wrap a few tubes with ribbon or place them in small boxes. Homemade lip balms are thoughtful, personal gifts that look professional with minimal effort.
Why Do People Love Making Their Own Lip Balm?
Making your own personal care products can be pleasant. You know exactly what’s in them, and you can tweak the formula to match your preference. Many people enjoy the hands-on process of melting, mixing, and pouring it feels creative and practical at the same time.
Cocoa butter gives the balm its rich scent and creamy feel, while almond oil adds shine and vitamin E keeps your lips soft and the ingredients fresh. Together, they create a product that feels light, creamy, and comforting.
Making your own balms has the added benefit of being inexpensive. With just a few ingredients, you can make a whole batch enough for yourself, friends, and family. Once you’ve tried it, you might not want to buy store-bought lip balm again.
Fun Variations to Try
After you make the basic recipe, try experimenting with different versions.
- Coconut Lip Balm: For a tropical scent and smoother texture, use coconut oil instead of almond oil.
- Mint Lip Balm: For a refreshing effect, add six drops of peppermint essential oil.
- Cocoa Vanilla Balm: Combine cocoa butter with a few drops of vanilla extract for a warm, dessert-like aroma.
- Maple Honey Balm: For a sweet twist, add maple syrup and a little honey.
Each small variation gives a different scent and texture, so you can easily create your own signature blend.
Simple and Fun DIY Project
Making cocoa butter lip balm is more than just crafting it’s a small creative moment in your day. The process is easy enough for beginners and enjoyable for anyone who likes do-it-yourself projects. The end result feels like something special smooth, soft, and made exactly how you like it.
Next time you’re looking for a simple homemade gift or just want to try something new, give this recipe a go. You’ll end up with a batch of lip balms that look and feel great all made right in your own kitchen.


