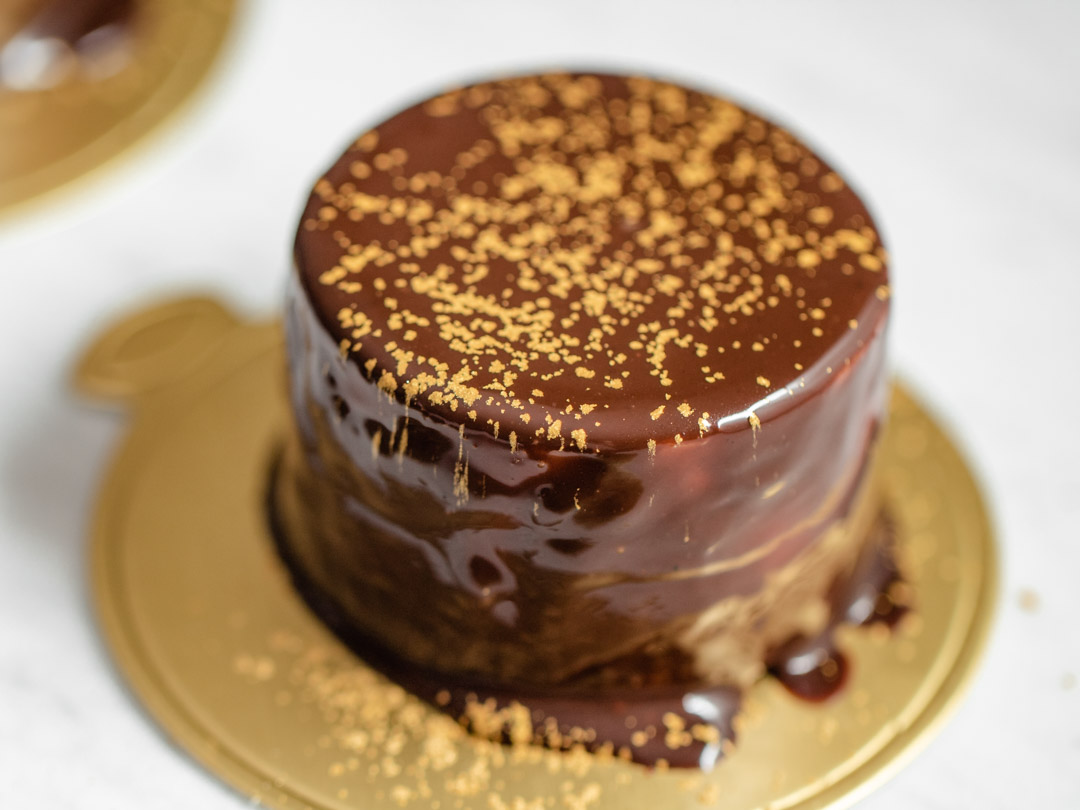
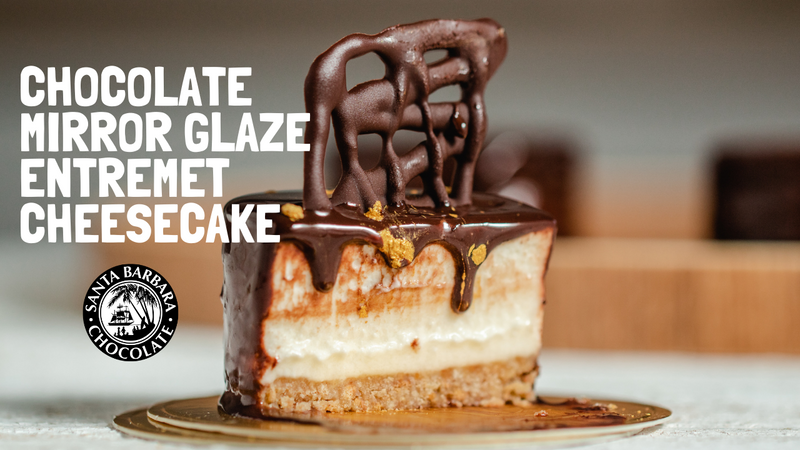
Chocolate Mirror Glaze Entremet Cheesecake
What does Entremet mean?
Entremets from Old French, literally meaning "between servings". in French cuisine historically referred to small dishes served between courses but in modern times more commonly refers to a type of dessert.
This recipe is for an easy Mirror Glaze Cheesecake With Filling Entremet Mousse Dessert
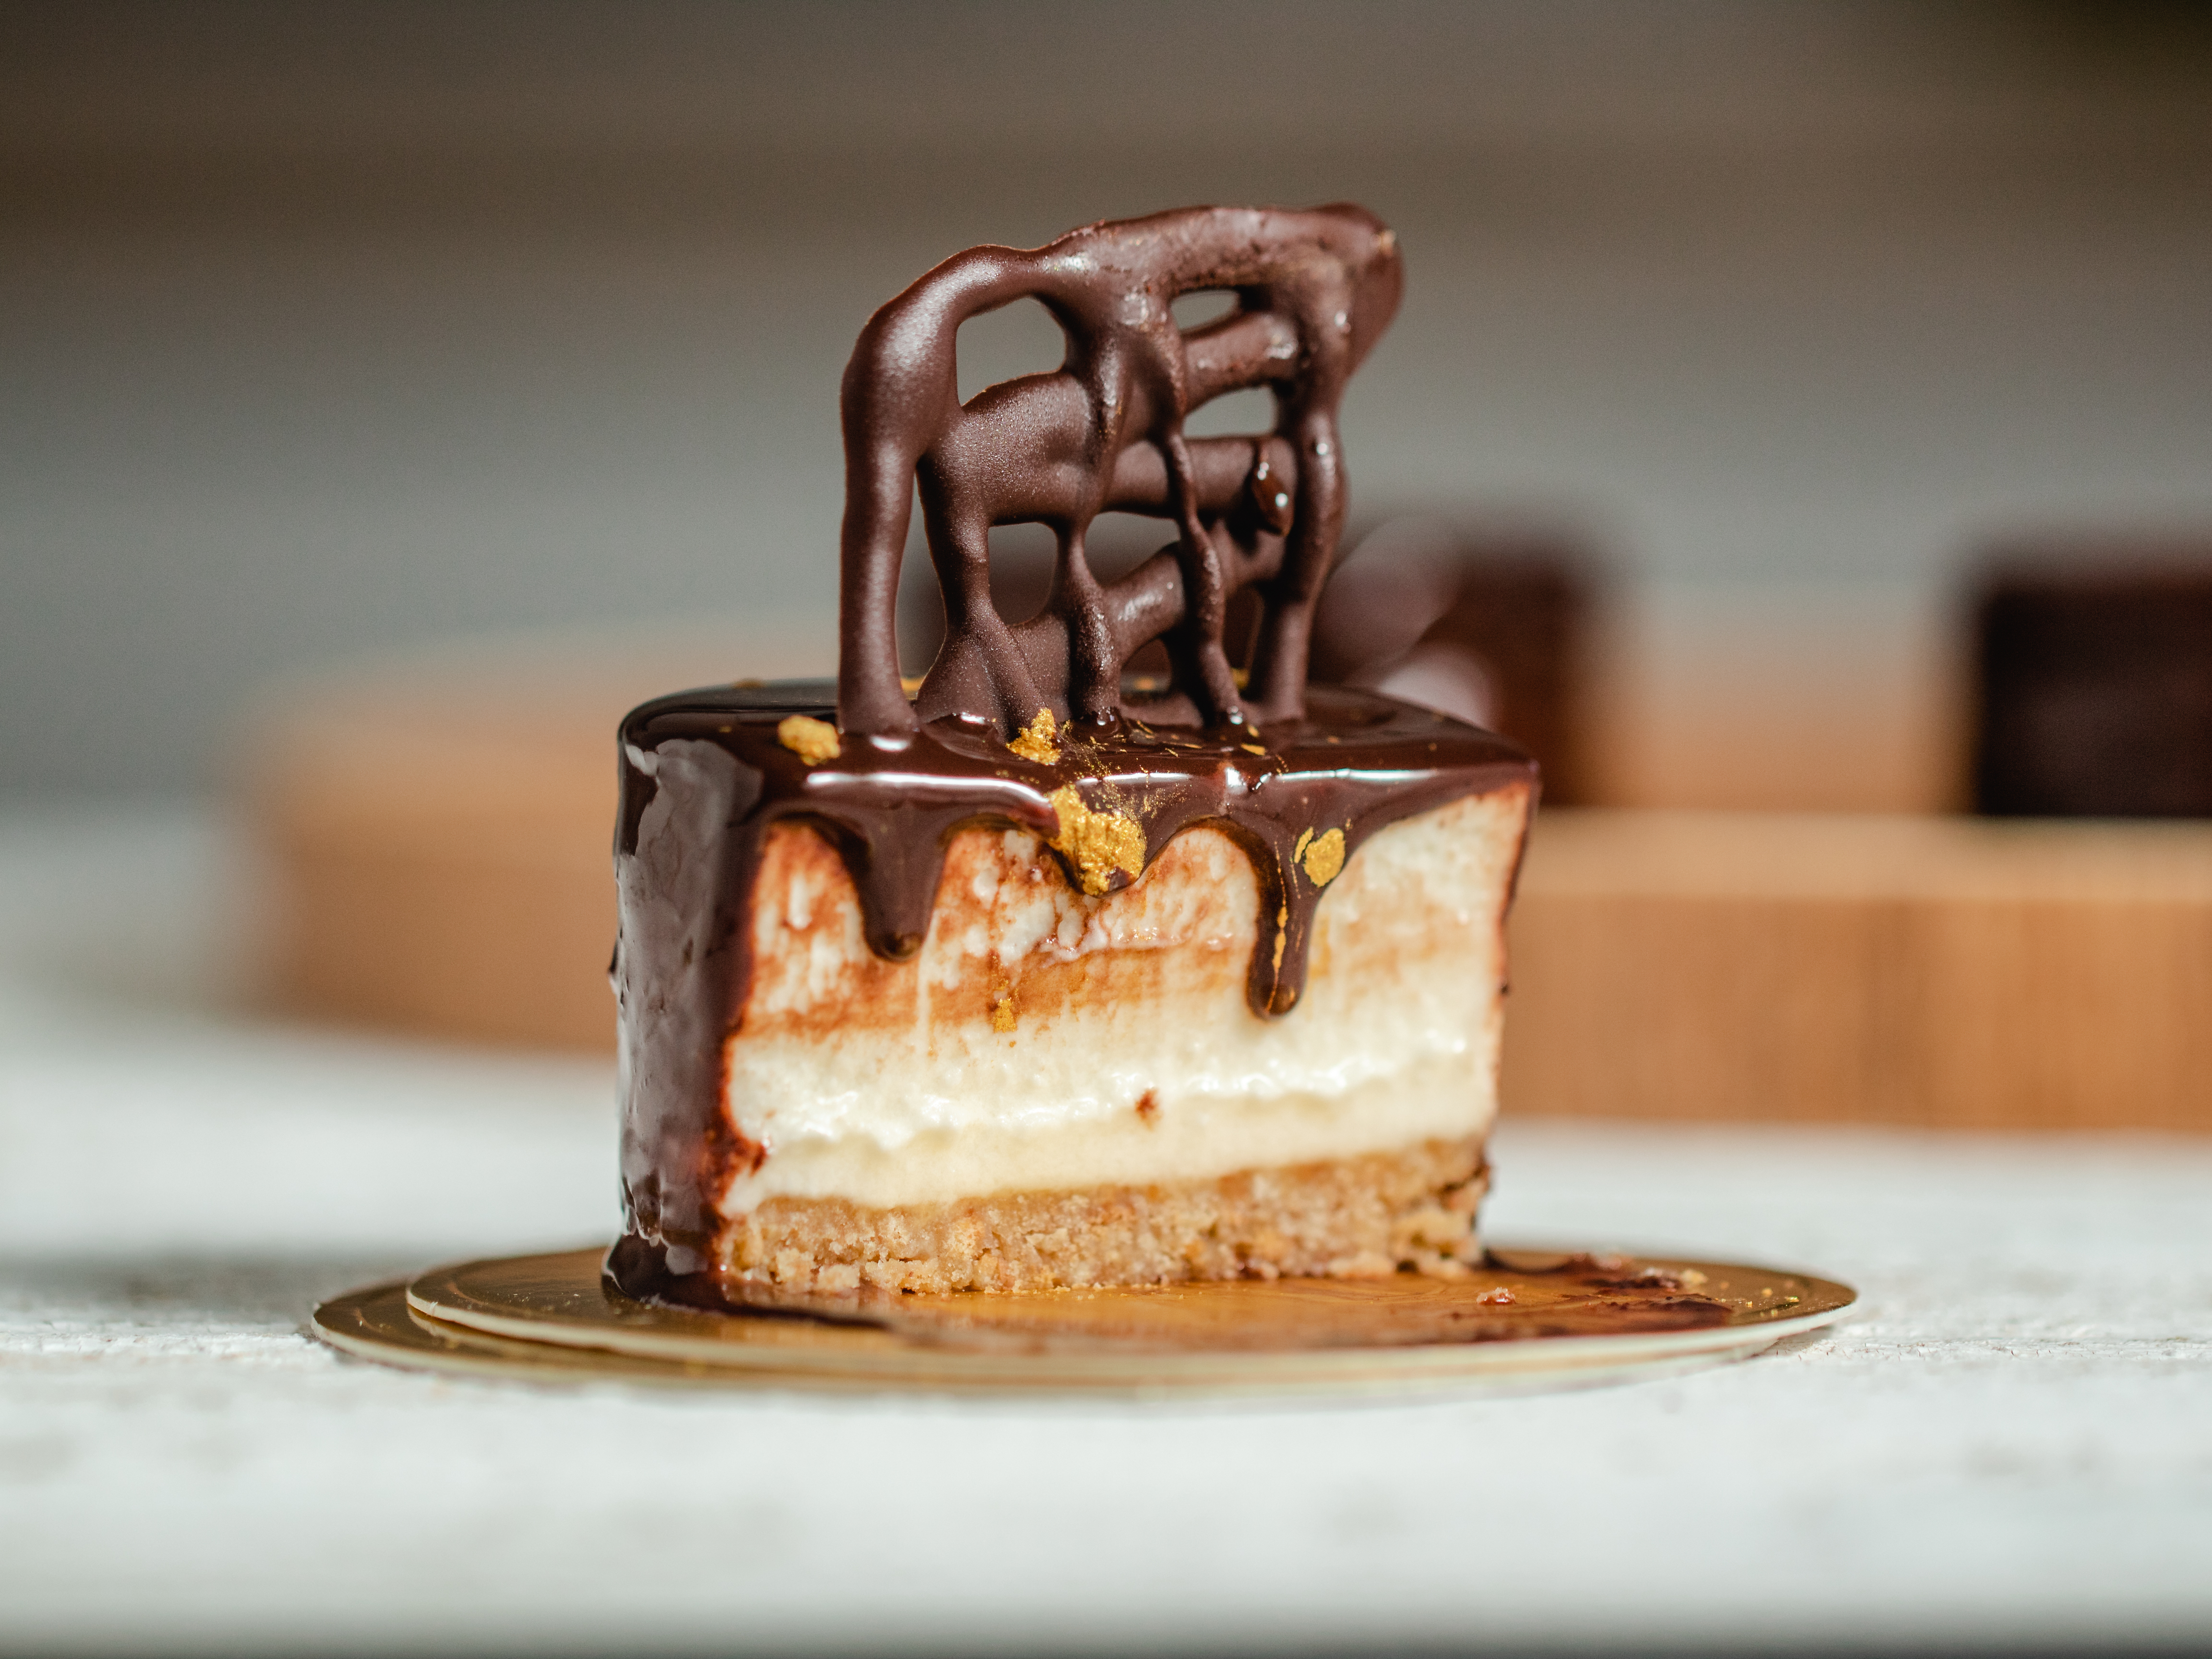
What is Chocolate Mirror Glaze?
Chocolate Mirror Glaze – or Glacage Chocolat in French – is the most stunning of all cake glazes! Made with a simple mixture of cocoa, cream, sugar, water, and gelatine powder, it’s used to make Mirror Glaze Cheesecake like this Entremet Cheesecake Chocolate Glazed Mirror Cheesecake.
What you need to make it?
All you need is a normal meat thermometer and strainer.
Bring your skills to the next level!
- It’s much easier than you think. It calls for patience above all else (you will read the words “cool” and “fridge” a lot!).
- You can use mirror glaze on virtually any dessert.
- You don’t need any specialty ingredients or patisserie equipment – just a thermometer and strainer!
- It’s a great show-off cake, one that everyone oohs and ahhs over how shiny and reflective the glaze is – just like a mirror!
Can I skip adding the gelatine?
The answer is no! The Gelatine is what makes the glaze shiny. It makes the glaze set into a glossy, thin layer of what is essentially chocolate jelly. That might sound slightly unappealing but when executed properly, it functions as a very, very thin layer of soft jelly encasing a frosting or mousse of some sort underneath.
What are the required ingredients to make the chocolate glaze?
A classic Chocolate Mirror Glaze is made of gelatine powder, water, pure cream is best (but thickened and heavy cream work as well. Full-fat power needed here – this is not the time to muck around with low fat alternatives!!!), ordinary white sugar and Santa Barbara Chocolate Cocoa Powder.
Some recipes use melted chocolate and condensed milk, but they aren’t as nice to eat. They make a yield a thicker, less elegant Mirror Glaze that’s also overly sweet.
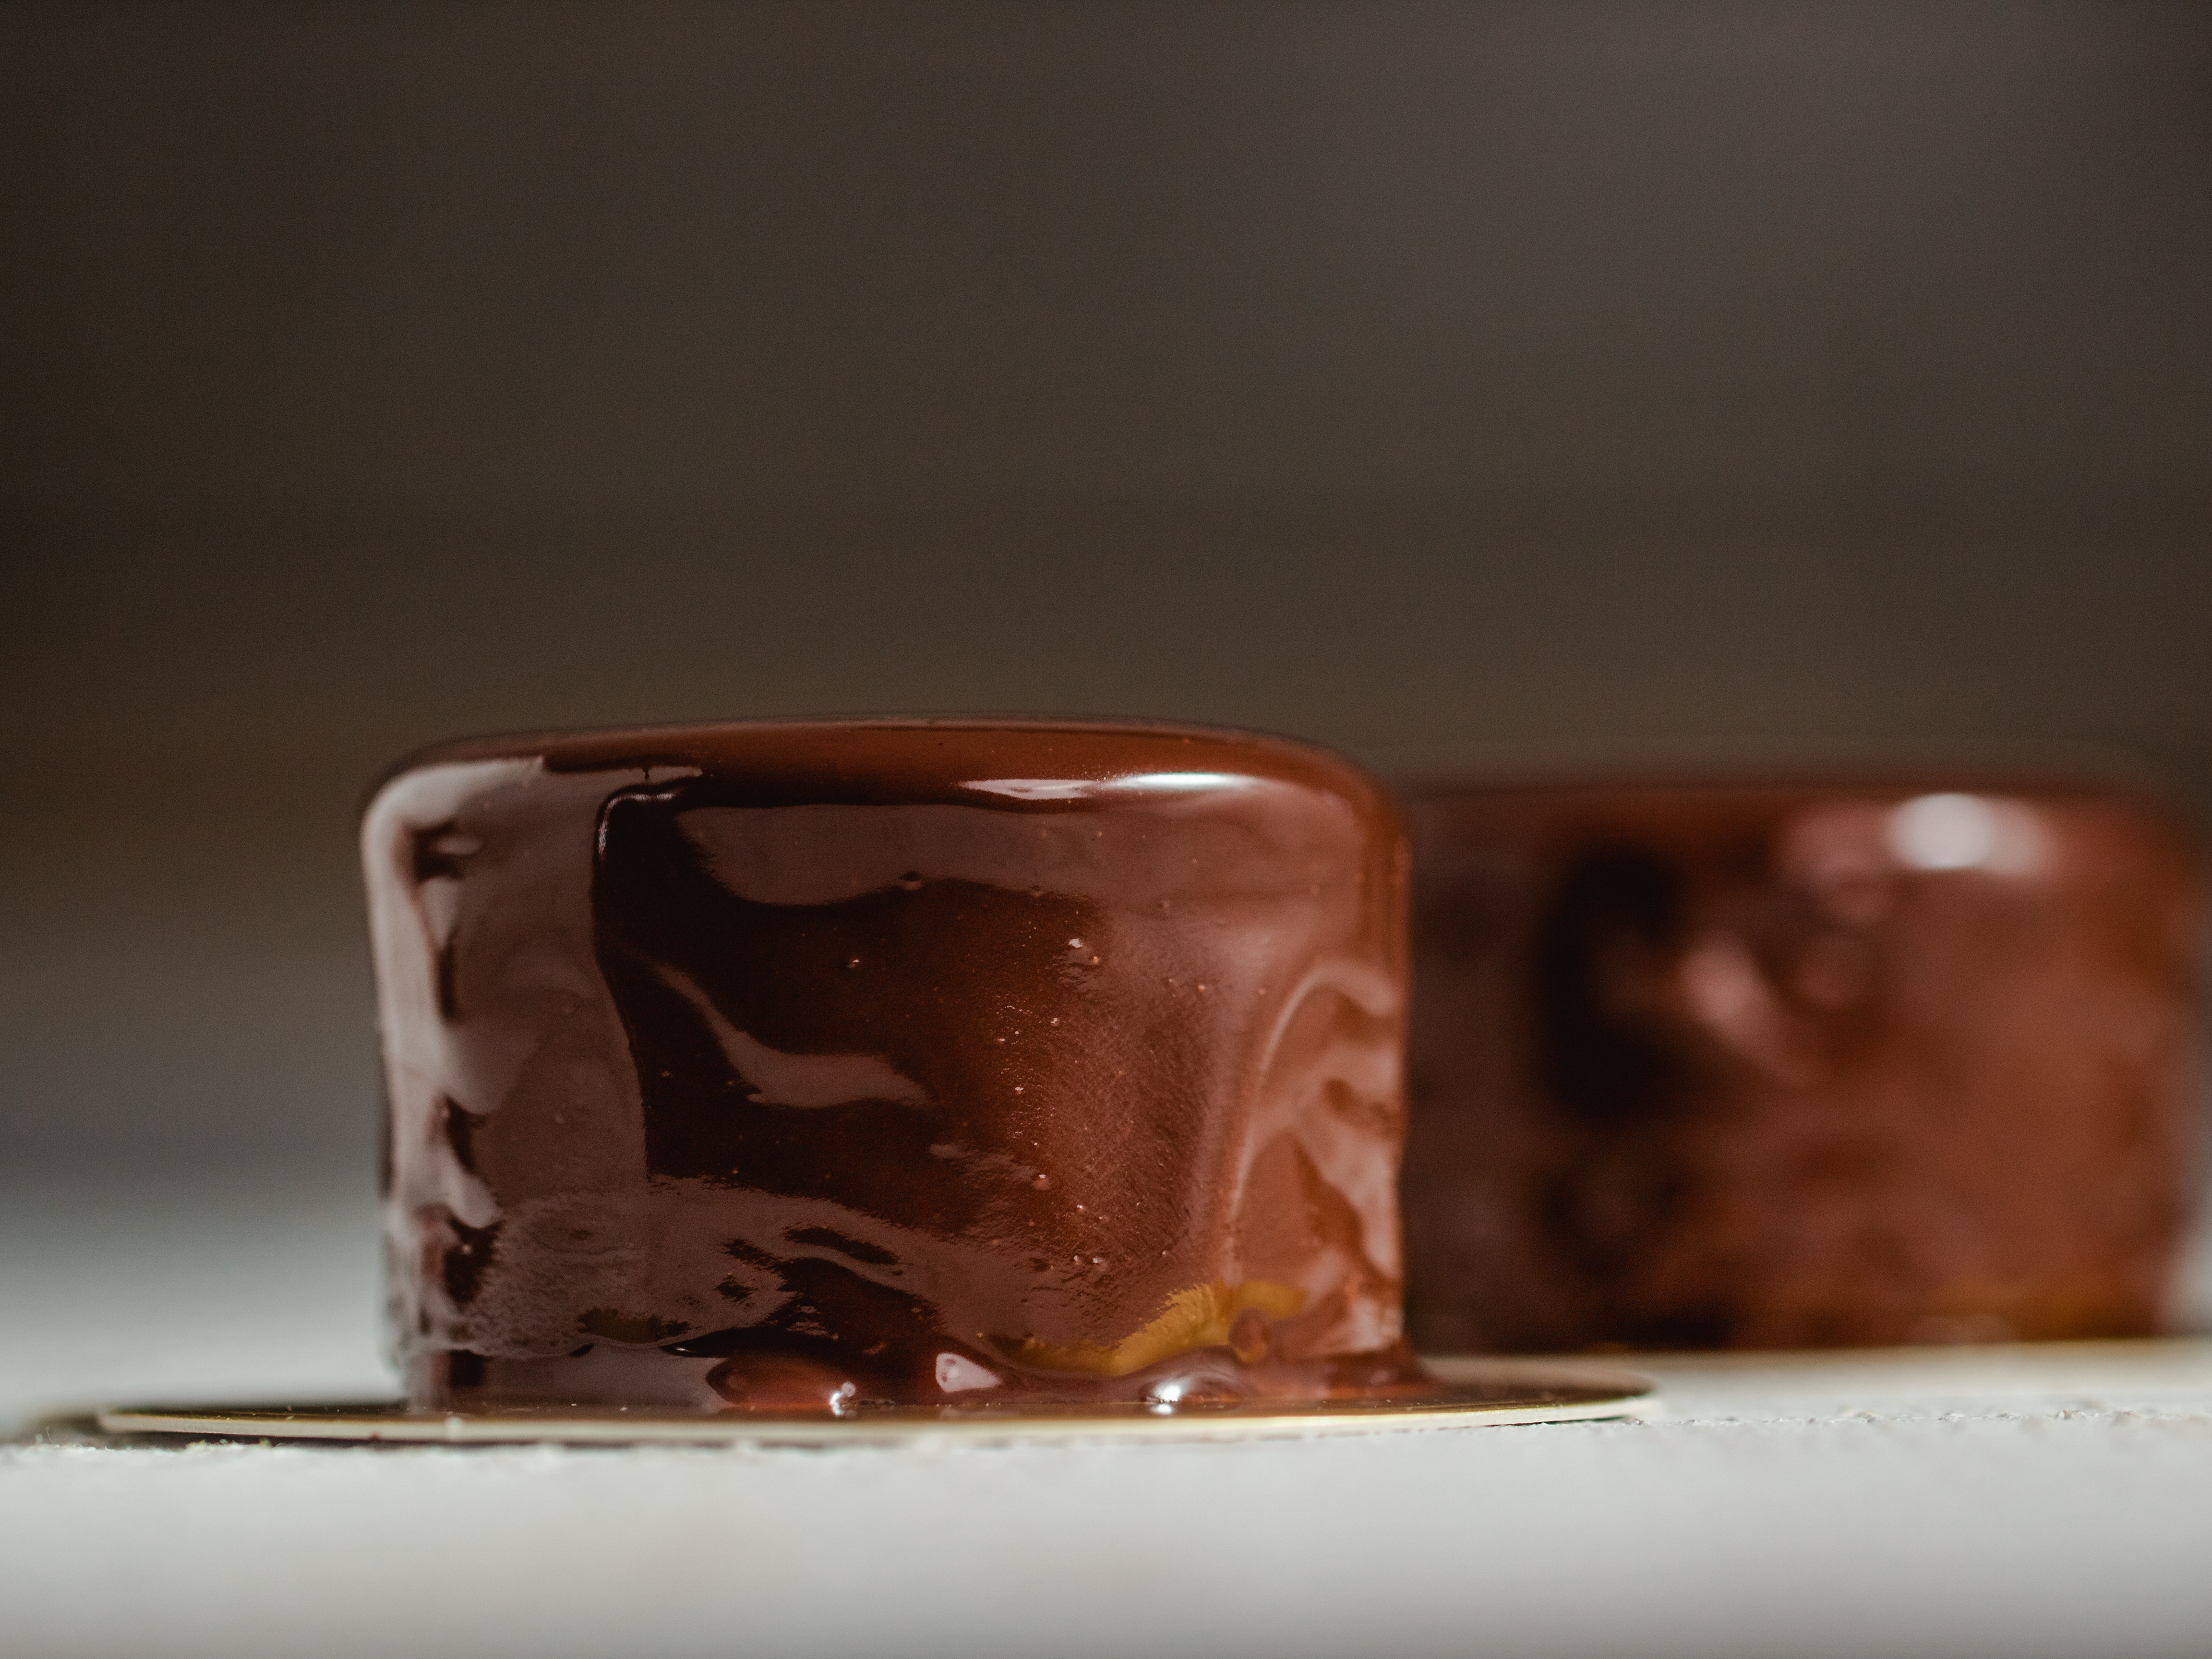
How to glaze a Mirror Glaze:
- Frost the cake with ganache or buttercream so it is as level and smooth as possible.
- Make the mirror glaze then let it cool so it doesn’t melt the frosting.
- Pour the glaze over the cake and be mesmerized by the glistening curtain of chocolate that cascades across and down the sides of your cake.
- Transfer the cake without messing up the glaze.
- Fix any blemishes using a couple of handy tricks.
Making a mirror glaze is very easy IF you follow a few key tips that make all the difference between success and lumpy failure:
- How to avoid gelatine lumps and bubbles in the glaze.
- How to achieve the perfect thickness and temperature so that when you pour it, it’s not too thin or thick, and doesn’t melt the ganache.
First step: BLOOM GELATINE POWDER
There’s no need for leaf gelatine. Powdered gelatine works just fine.
1. Bloom gelatine – put a small amount of water in a small bowl then sprinkle gelatine over.
2 . Mix – it will set into a thick paste. Leave for 5 minutes so the gelatine crystals absorb the water.
This is called blooming gelatine and it allows the gelatine to dissolve smoothly into mixtures. If you just added the powder straight into the glaze, you’d end up with lots of lumps.
MAKING THE MIRROR GLAZE
1. Cocoa Powder and water first – In a saucepan, whisk Santa Barbara Cocoa Powder and water to make a slurry / paste. I found this to be the easiest way to dissolve cocoa powder without whisking/mixing too much (which will create bubbles and ruins the finish of the glaze).
2. Then cream and sugar – Next, mix in a bit of cream to loosen the mixture, then add the remaining cream and all the sugar. Do minimal stirs, enough to just incorporate the cocoa slurry into the cream.
3. Boil – Bring to boil to dissolve the sugar, then take it straight off the stove.
4. Dissolve gelatine – Drop the gelatine in (it will have solidified into a rubbery disc).
5. Stir GENTLY – Gently stir to dissolve the gelatine lump. Do not stir vigorously and do not use a whisk, or you’ll create bubbles in the glaze which will tarnish the perfect finish! It will take a minute or two of stirring but it will dissolve.
6. Glossy! The glaze should be shiny and glossy at this point, and hopefully bubble free. If you have bubbles, don’t fret! We can fix it in the next step. If you see a whitish foam on the surface, that’s ok too and is easy to deal with, just leave it for now.
STRAIN AND COOL
1. Strain – Slowly strain the liquid into a bowl, positioning the strainer such that you minimize the distance the liquid falls from the saucepan into the strainer, and also from the base of the strainer into the bowl. This will reduce the risk of bubbles being created during the straining process.
2. Cover & cool – Cover the mirror glaze with cling wrap, pressing so it touches the surface to prevent a skin forming. When you peel off the cling wrap once the Mirror Glaze is cool, it will peel off any white foam.
3. Cool to 30°C / 86°F – Leave to cool on the counter for 2 hours or until it reaches 30°C / 86°F. This is the perfect pouring temperature so it blankets the cake smoothly without drips, won’t melt the ganache and sets in a thin 2 – 3mm layer – the perfect thickness for a mirror glaze.
- If the glaze is too hot, it will melt the ganache and slide off the cake.
- If the glaze is too cold, it won’t spread smoothly and you’ll end up with drips on the side and lines from the pools of chocolate on the top.
4. Strain into jug – Once it reaches the target temperature, strain it into a jug ready for pouring over the cake. The purpose of this step is to remove any residual bubbles, any little bits of skin that formed while cooling, and any gelatine lumps that may have formed if it wasn’t properly dissolved.
Position the strainer and tilt the jug so you minimize the distance the liquid falls so you don’t create any bubbles. I manage this on my own, but it’s easier if you get a helping hand!
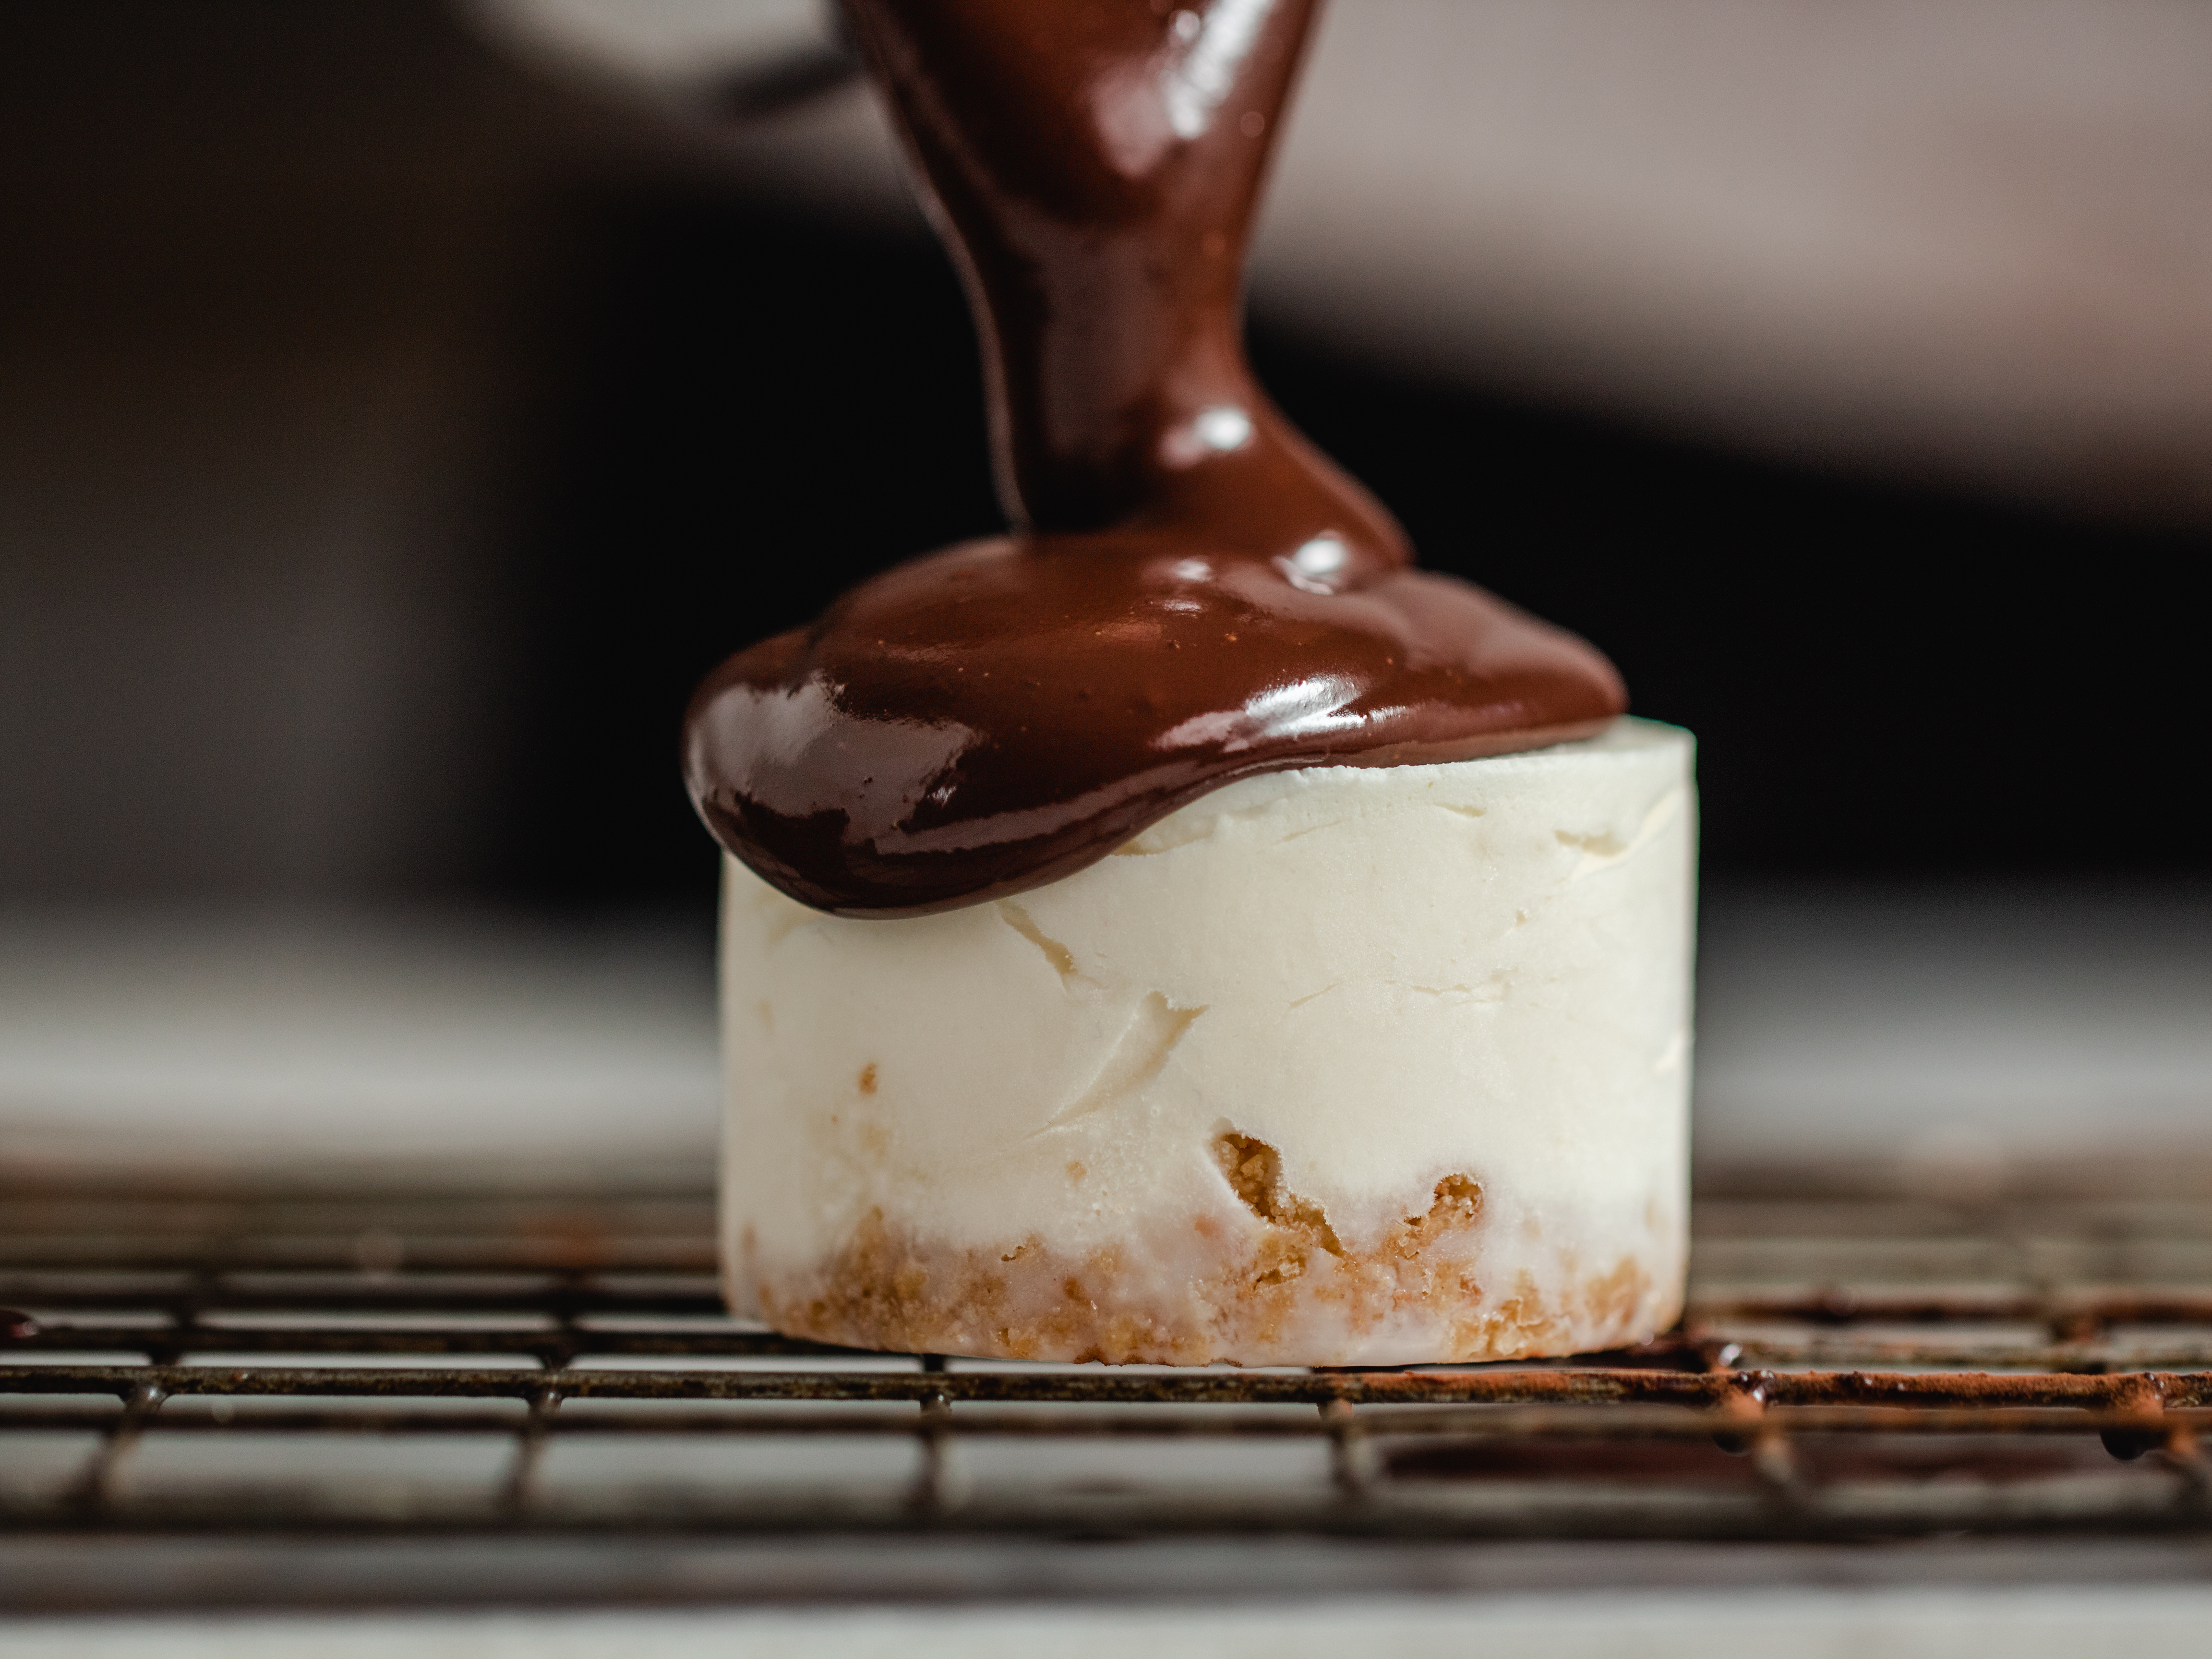
1. Place on rack – Transfer the Mini Entremet Dessert to a rack.
2. Place the rack on tray – Set the rack with the dessert on a tray to catch the excess glaze drips.
3. Pour! Starting in the middle of the dessert, pour in an expanding spiral motion outwards towards the edge so the glaze spreads across the surface and down the sides. Pour with confidence! Don’t hesitate or do a thin stream. You want a steady pouring stream so you get a curtain of chocolate coating the sides of the Entremet Dessert rather than piddly little drips!
Do not touch the glaze once it is poured – anything that comes into contact with the glaze will leave a mark!
TOP TIP: Try to do it in one motion – that is, once you start pouring, don’t stop until all the sides are covered. This is the best way to ensure you get a perfect, flawless surface. If you need coat a patch you missed on the side, just pour down the edge of the dessert only, to minimize risk of faint “puddle” lines on the top of it. Don’t worry, the surface will still be flat.
4. Transfer before it sets! The mirror glaze will start to set after about 10 minutes, so after you pour on the entremet dessert use a toothpick and transfer to a tray which will be stored in the fridge.
Ingredients to make the Mirror Chocolate Glaze:
GELATINE FOR GLAZE:
- 2 1/2 tbsp water (just cold tap water)
- 4 tsp gelatine powder
MIRROR GLAZE:
- 2/3 cup water
- 2/3 cup cream, pure/regular whipping cream
- 1 cup Santa Barbara Cocoa Powder, unsweetened, sifted
- 1 cup + 2 tbsp white sugar, caster/superfine
DECORATING (OPTIONAL, AS PICTURED)
- Gold dust, optional
Ingredients to make the Entremet Mini Mousse Dessert:
Vanilla Cheesecake filling:
- 1+1/4 Cup (12 oz (250 g) Philadelphia Cream Cheese
- ¾ Cup (150 g) Sugar
- 2 Tsp Vanilla Extract
- 300 ml Whipping Cream
- 2 Tsp Gelatine Powder (optional)
- 2 Tbsp boiling Water (Do not use if you not using gelatine)
Chocolate Biscuit base:
- ½ Cup (100 g) Sweet Biscuits/Crackers of choice
- ¼ Cup (50 g) Melted unsalted butter
The Silicone mold used in the tutorial:
https://www.amazon.com/dp/B07FKPTY4S?ref=exp_cupca...
Instructions to MAKE Entremet Mini Mousse Dessert:
- Make the biscuits base: Crush the biscuits in a blender or food processor. Then add to a deep bowl and mix with the melted butter until you have the desired consistency for the base.
- Spoon 1 Tbsp of the biscuits base in each square, the recipe is for 12 squares.
- Using a small shot glass press the base so it is flat and store in the fridge while preparing the Vanilla Cheesecake batter.
- Bloom Gelatine: In a deep bowl add boiled water half level, then pour into a tea cup 2 Tbsp boiling water and the gelatine. Mix – it will set into a thick paste. Leave for 5 minutes so the gelatine crystals absorb the water.
- In a Deep medium size bowl add the Philadelphia Cream Cheese & sugar, and whisk together using a hand mixture, keep whisking until the mixture holding its own shape.
- Add the Vanilla Extract & whisk again for two minutes.
- Pour in the whipping cream, the bloomed gelatine & again back to whisking on high speed for about 5 minutes, till you get a result of smooth thick batter.
- Transfer to a piping bag: Add the Cheesecake batter to a piping bag and pipe the batter into each square, filling it till the top.
- To make a smooth top for each cheesecake simple pass one way baking spatula as in the tutorial.
- Freeze overnight.
Instructions to MAKE MIRROR GLAZE:
- Bloom gelatine: Place water in a small bowl. Then sprinkle gelatine across surface, mix just so all the powder is wet. Leave for 5 minutes – it will become like a rubber consistency. (This is called "blooming gelatine".)
- Whisk cocoa and water: Place cocoa and water in a medium saucepan then mix until virtually lump-free. It will be like a paste.
- Add cream and sugar: Add a splash of cream to cocoa mix and stir. It will loosen up. Add remaining cream and sugar, then GENTLY continue to mix to combine. Do not mix vigorously and do not use a whisk.
- Bring glaze to boil: Turn stove onto medium high heat. As soon as it comes to the boil, remove from the stove.
- Dissolve gelatine: Add gelatine lump, then GENTLY stir until it dissolves and you have a smooth glossy glaze.
(There may be some white foam, that's ok.)
COOL & STRAIN MIRROR GLAZE:
- First straining: Using a shallow bowl and small fine mesh strainer, strain the glaze into a bowl. Pour and position the strainer so the glaze falls the smallest distance possible. If you pour from a height, this creates bubbles = bad!
- Bubble check: Twist the bowl back and forth between your hands rapidly. This will make any bubbles rise and gather in the centre.
- Cool glaze: Cover with cling wrap, pressing the cling wrap onto the surface of the glaze to prevent a skin from forming. Cool on the counter for 2 hours until it reaches 30°C/86°F.
- Second straining: Just before pouring over the cake, strain the glaze into a jug. As before, tilt the jug and strainer as you pour the glaze in to minimize the distance the glaze falls.
GLAZING!
- Transfer the Mini Cheesecakes to rack: Remove the mold from freezer, transfer onto a rack. Place rack on a tray to catch excess glaze.
- Pour over mirror glaze: Starting at the centre of the cheesecake, pour the glaze on, moving in an expanding spiral motion gradually towards the outer edge of the cheesecake, to make the glaze spread across the surface and drape like curtain down the sides. For the most perfect surface, try to do it in one motion without breaking the pour. Pour with confidence in a thick stream rather than a thin drizzle (which might set too quick and leave drips).
- Ensure all sides are fully coated – if not, quickly do a little pour down the sides to coat the naked patches.
- Transfer to platter: Before the mirror glaze sets (takes about 10 minutes), move the cake to a cake platter (Note 9 again for my cake-shifting method).
- Fix blemishes – Use excess glaze on the tray and in the jug to fill gaps and tears. Then smooth over with a warmed palette knife (either lightly warm with a blow torch or dip into warm water and wipe). See video for demo.
- Using a toothpick in the center of the glazed mini dessert transfer to a small dish and store in the fridge.
- To decorate you can use edible golden powder and shaved chocolate.
