
The classic chocolate sandwich cookie has a long and tasty history. The very first form of this cookie was made in 1912. Since then, people all over the world have loved it. Today, you can find it in more than 100 countries, and there are endless varieties—Peanut Butter, Neapolitan, Birthday Cake, Red Velvet, and so many more.
While store-bought cookies are fun to snack on, I’ve always believed that nothing compares to baking at home. There’s something about mixing ingredients in your own kitchen, smelling cookies fresh from the oven, and tasting the result of your work that makes homemade treats special. If you feel the same way, this recipe will be perfect for you.
My Love for Sandwich Cookies
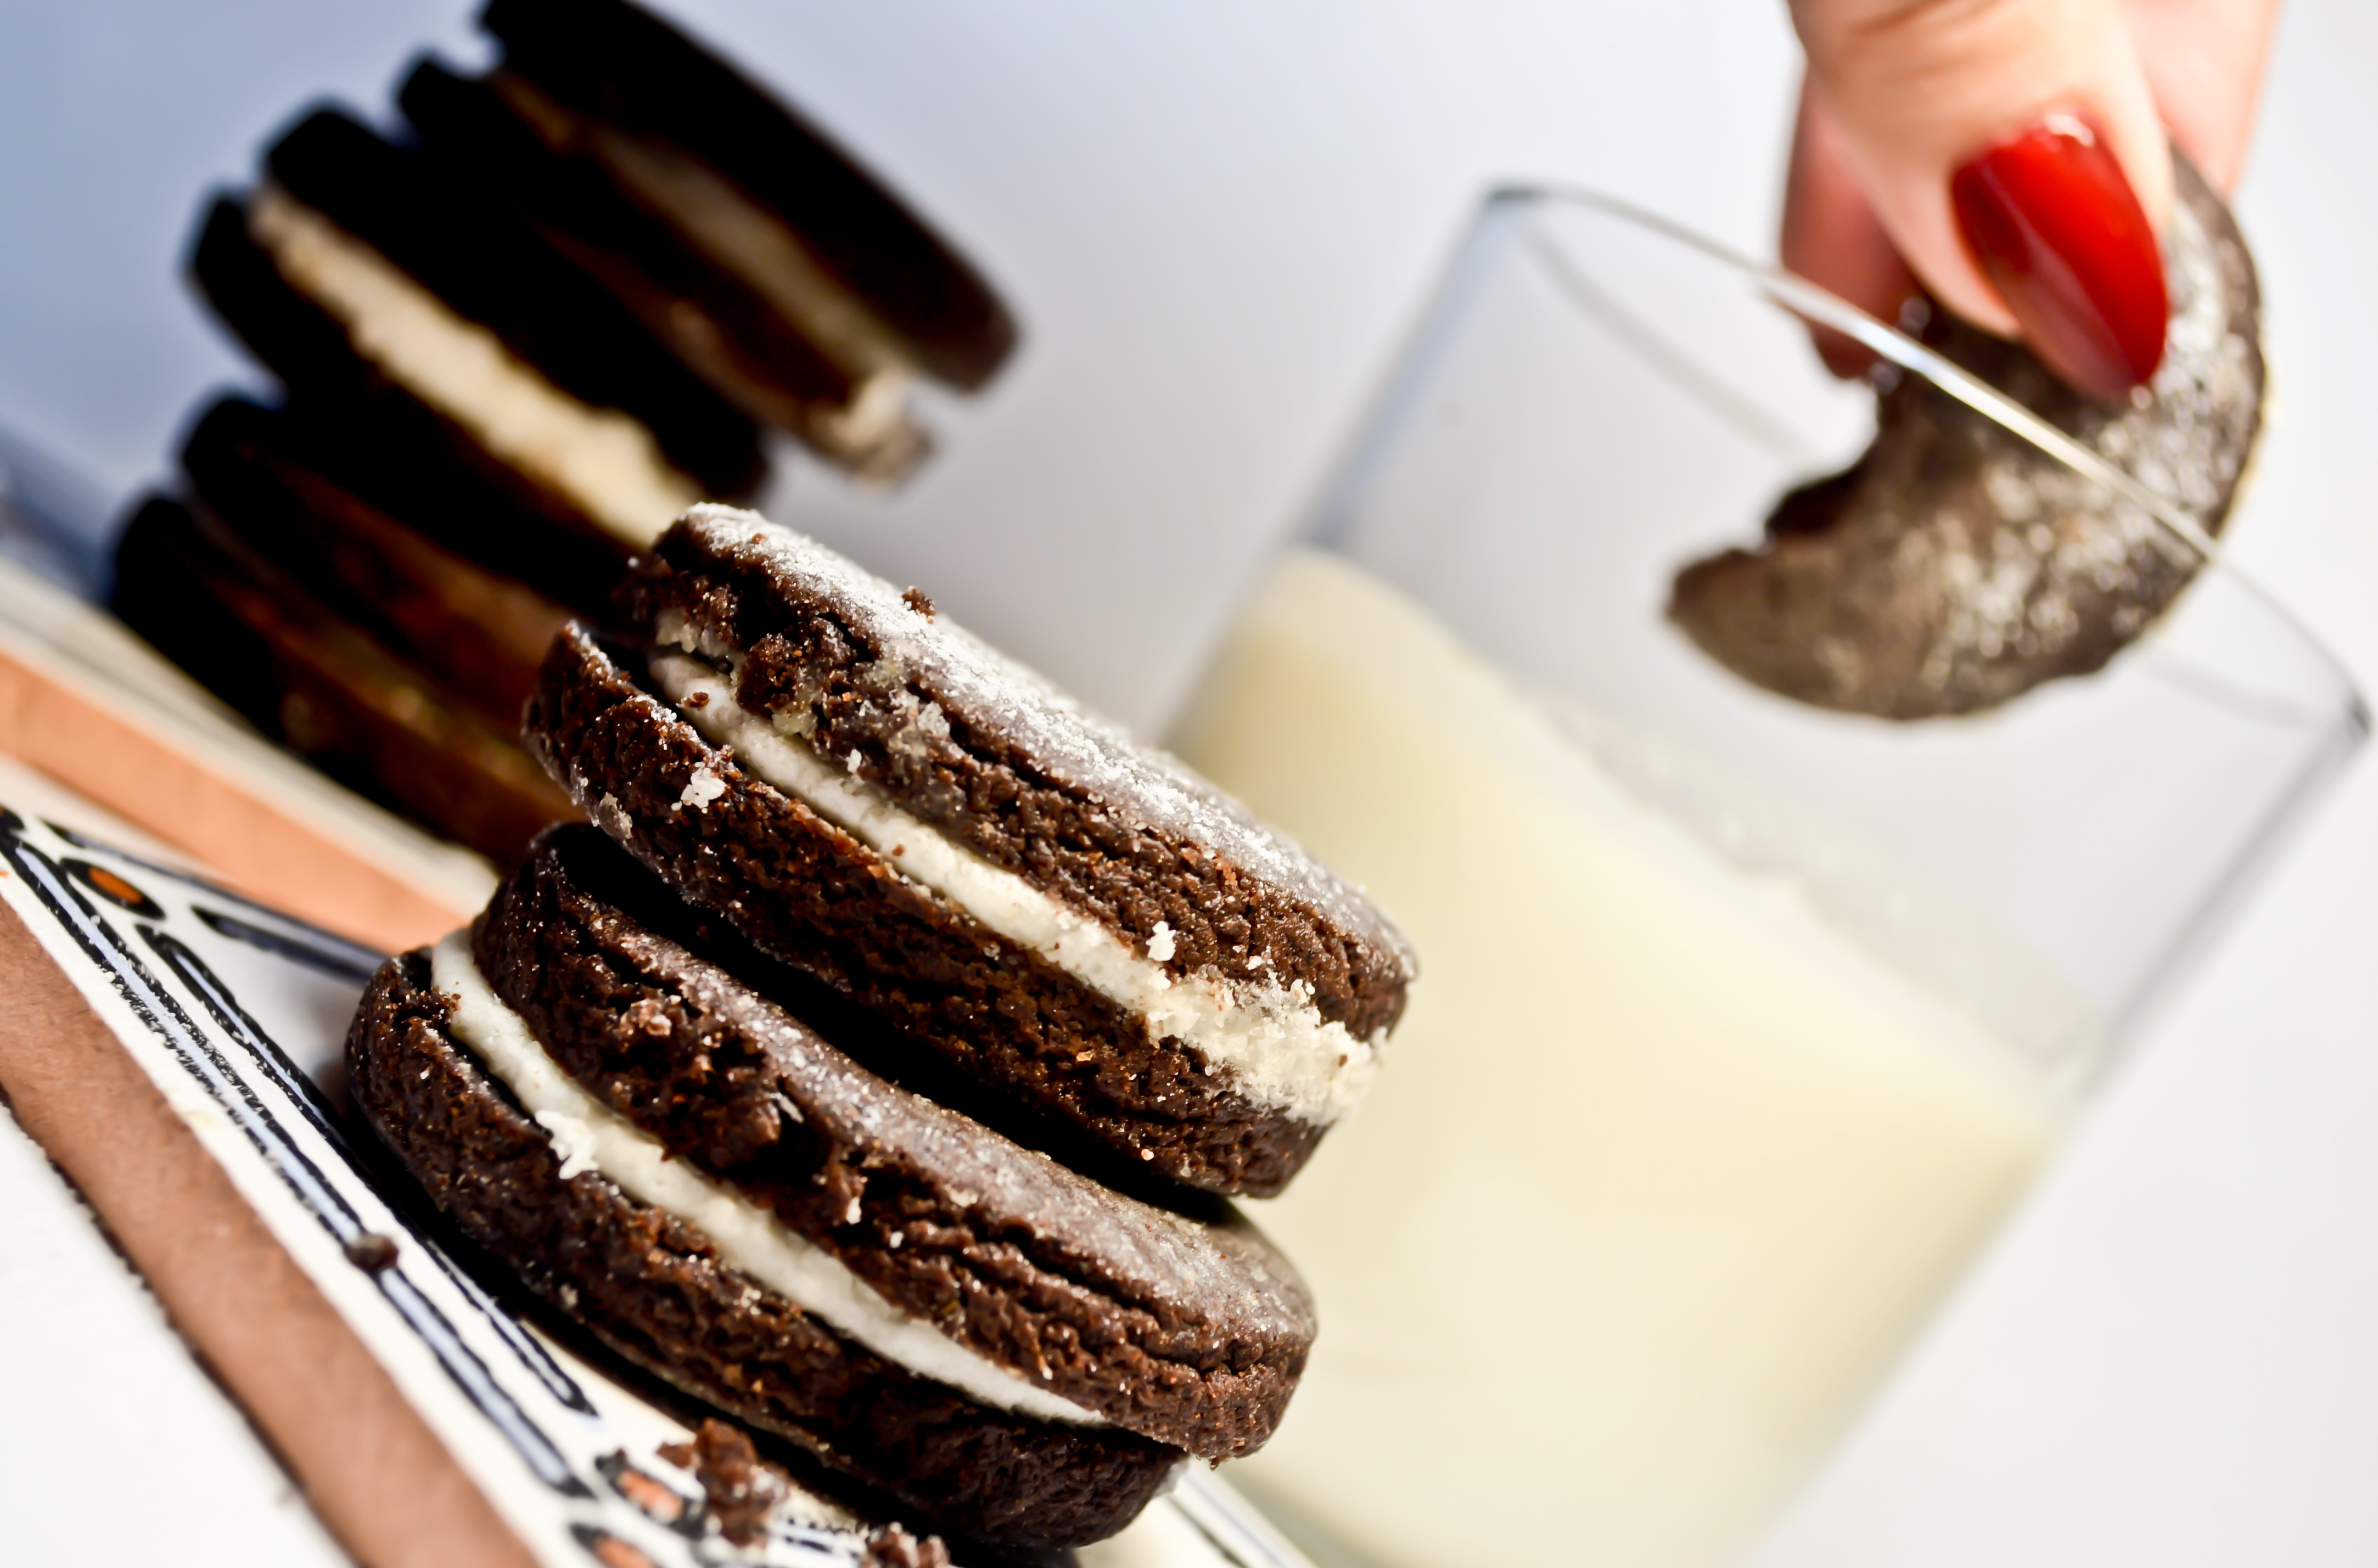
I grew up eating sandwich cookies. As a kid, one of my favorite habits was to dunk them into a cold glass of milk. If you’ve done the same, you know the joy of biting into a cookie that’s a little soft from the milk while still holding that creamy filling in the center. It was always such a comforting treat.
As an adult, I started thinking: what if I could make these cookies myself? Could I create a version that felt just as nostalgic but tasted even better than the store-bought ones? After many tries and some tweaking, I came up with a recipe that I love. It’s rich, chocolatey, and filled with fluffy vanilla cream. Honestly, I like it more than the ones I grew up buying.
Why Good Ingredients Matter?
One thing I’ve learned over the years is that good results start with good ingredients. For chocolate-based recipes, the cocoa powder is the star, and it makes a big difference. For these cookies, I use Rainforest Bulk Cocoa Powder from Santa Barbara Chocolate. It has a deep, smooth flavor that really stands out. Since I’m the head chocolatier for the company, I might sound biased—but I use this cocoa powder for my own baking at home because I know the taste and quality are reliable.
If you don’t have this specific cocoa powder on hand, choose the best one you can find. The richer the cocoa, the more flavorful your cookies will be.
Ingredients
For the cookies:
- 1 cup all-purpose flour
- ¾ cup sugar
- ½ cup Rainforest Bulk Cocoa Powder
- 1 tsp baking soda
- 1 egg large
- ½ cup butter room temperature
- A pinch of salt
For the filling:
- ¼ cup butter, room temperature
- ¼ cup shortening
- 2 cups powdered sugar
- 1 tbsp vanilla extract
Step-by-Step Instructions
Making the Cookies:
- Preheat the oven. Set your oven to 350ºF (175ºC).
- Sift the dry ingredients. In a large mixing bowl, sift together the flour, cocoa powder, and baking soda. Do not skip this step; sifting will help get rid of any lumps, and make sure the dough is smooth.
- Add sugar and salt. Add the sugar and a little salt and mix well.
- Mix in butter and egg. Add the room temperature butter and egg, then mix until everything is well combined. You should have a thick, chocolatey dough.
- Place the dough in the refrigerator for about 15 minutes. Chilling helps firm it up and makes it easier to handle.
- Roll out the dough. Once chilled, knead the dough lightly, then divide it into two parts. Place each part between two sheets of parchment paper and roll until about ¼ inch thick.
- Cut cookie shapes. Use a 2-inch round cookie cutter—or any size you prefer—to cut circles. Make sure you cut an even number since you’ll be sandwiching them together. Gather scraps, chill again if needed, and re-roll.
- Bake. Place the cookie circles on a baking sheet, leaving space between each one. Bake for 10 minutes, but start checking around 8 minutes so they don’t burn.
- Cool completely. Let the cookies cool on a wire rack. This step is important—if the cookies are warm, the filling will melt when you assemble them.
Making the Filling
- Whip butter and shortening. In a bowl, whisk the butter and shortening together until they’re smooth and creamy.
- Add powdered sugar. Gradually add sifted powdered sugar, about 2 tablespoons at a time. This prevents lumps and keeps the cream filling fluffy.
- Add vanilla. Pour in the vanilla extract and beat on high speed for about a minute until the filling is light and airy.
Assembling the Cookies
- Prepare the filling. Spoon the cream into a pastry bag fitted with a round tip. If you don’t have a pastry bag, you can use a plastic bag with the corner snipped off.
- Fill the cookies. Take one cookie and pipe a generous dollop of cream over most of the surface.
- Top with another cookie. Place a second cookie on top and press lightly to create a sandwich.
- Repeat. Continue until all your cookies are paired up with filling in the middle.
Tips for Better Results
- Don’t skip chilling the dough. This step keeps the cookies from spreading too much in the oven.
- Adjust thickness. If you like crisp cookies, roll the dough a little thinner. For softer cookies, roll slightly thicker.
- Flavor variations. Add a few drops of peppermint or almond extract to the filling for a fun twist.
- Storage. Store the finished cookies in an airtight container. They stay fresh for several days, and the flavors get even better as the filling softens the cookies.
A Cookie Worth Sharing
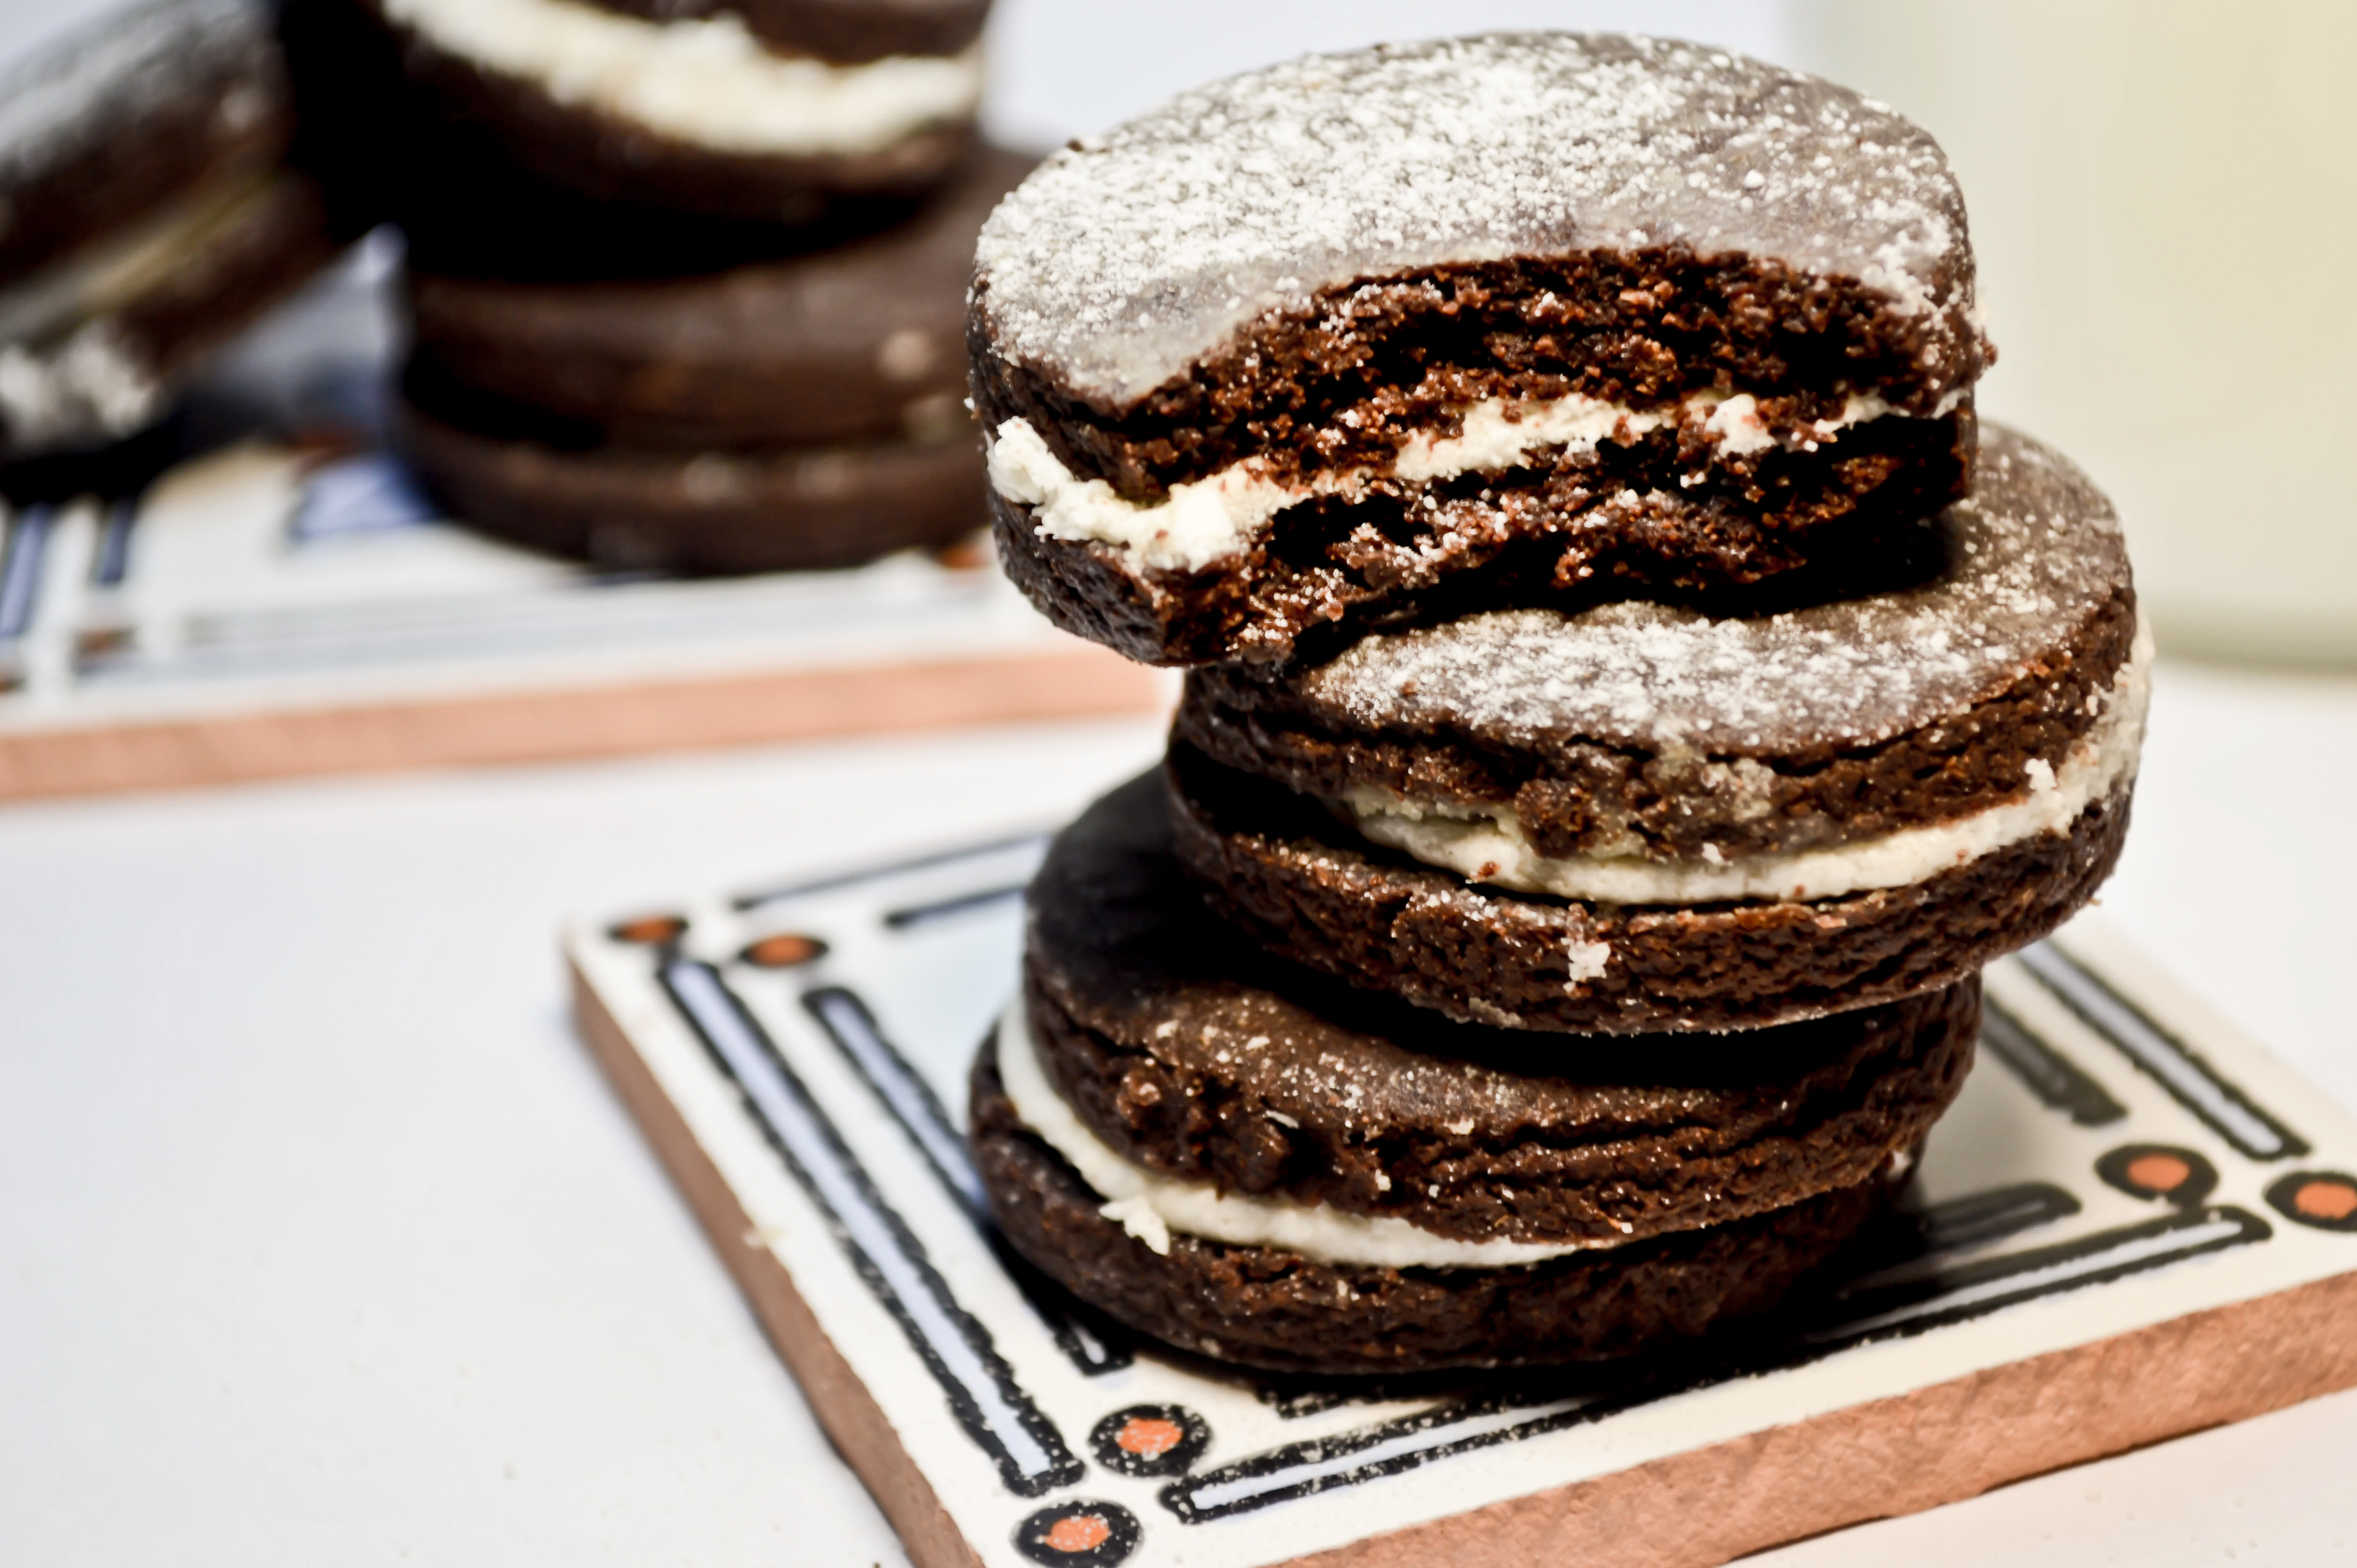
You can think of these sandwich cookies as more than just a treat. They remind you of family time, childhood, and the fun of making something by hand. The filling is sweet and creamy, and the chocolate is rich. Together, they make a great bite.
Whether you enjoy them with a glass of milk, pack them in a lunchbox, or share them with friends, these cookies are guaranteed to bring smiles. When you want something sweet, don't buy a box from the store. Instead, make these fresh sandwich cookies.
https://www.santabarbarachocolate.com/chocolatier-jason-vishnefske/
