How to Make Modeling Chocolate

Why Modeling Chocolate Is Better Than Fondant and How To Make It
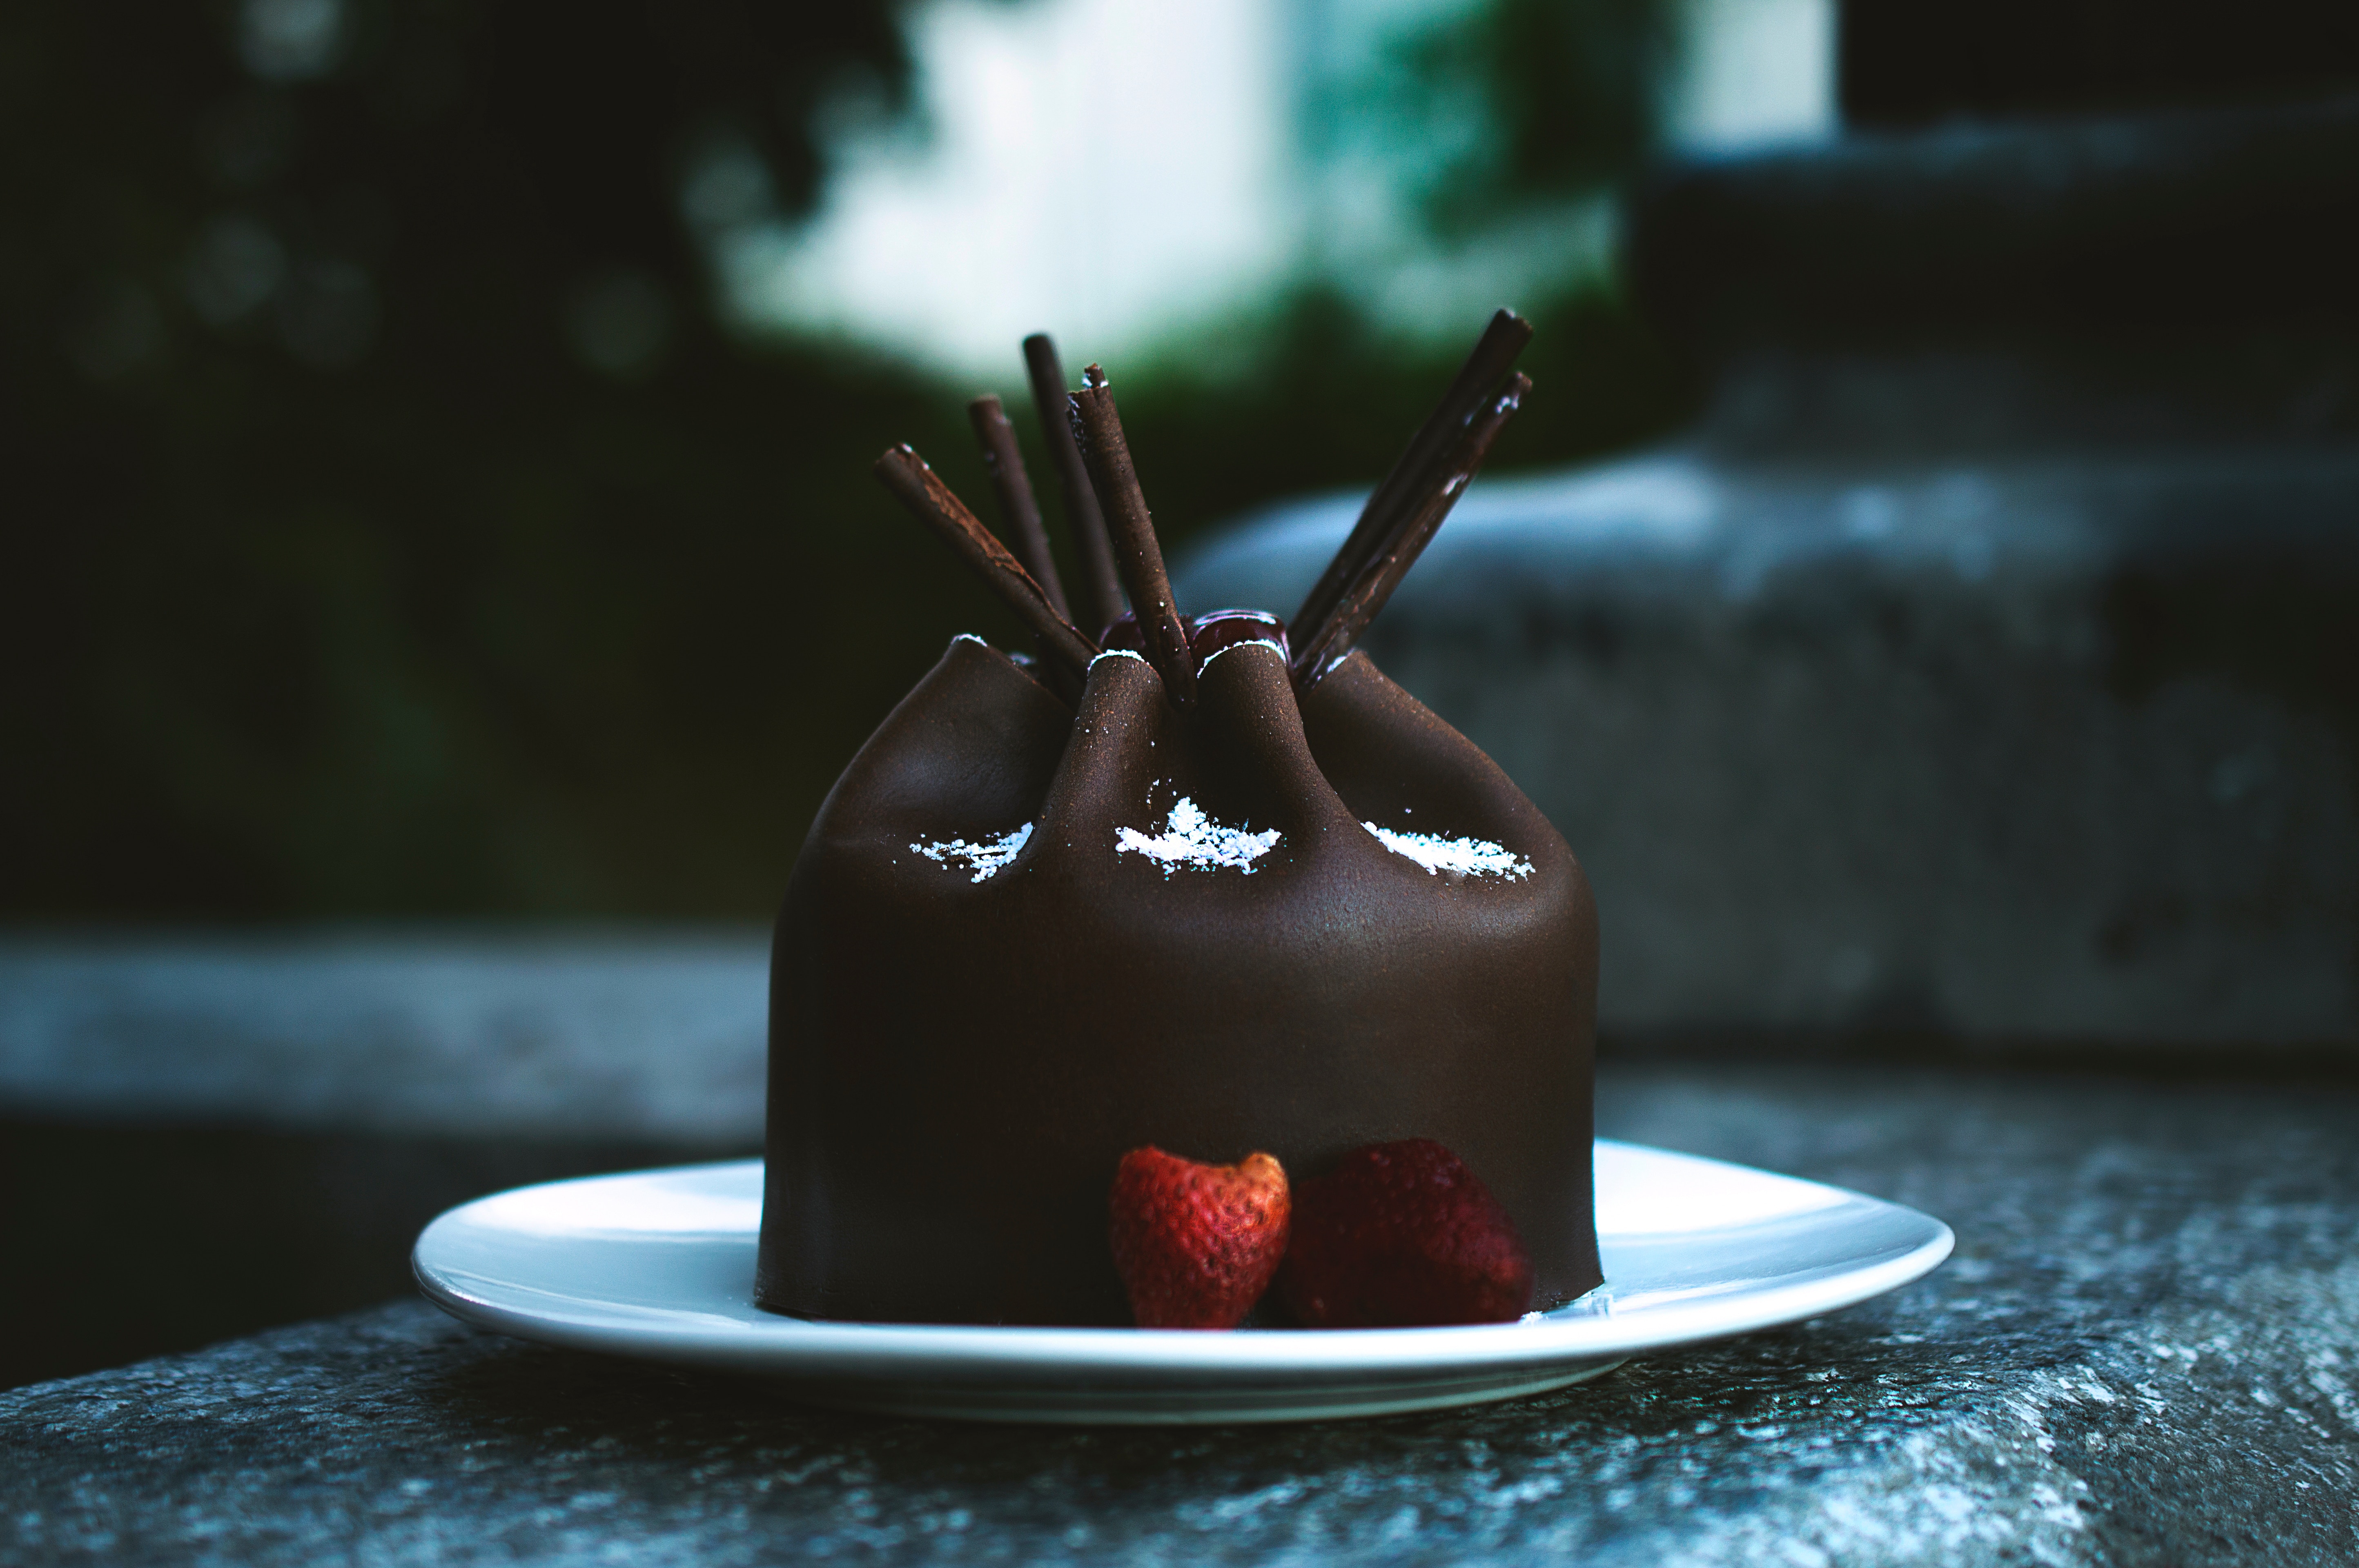
If you’re a chocolate lover, like us, chances are you’re not the biggest fan of fondant on cake. Sure, it looks beautiful, but it’s not all that tasty. Modeling chocolate, on the other hand, is both beautiful, functional and delicious--and it only takes 2 ingredients to make.
Modeling Chocolate vs Fondant
| Modeling Chocolate is creamier and melts on your tongue, like candy. |
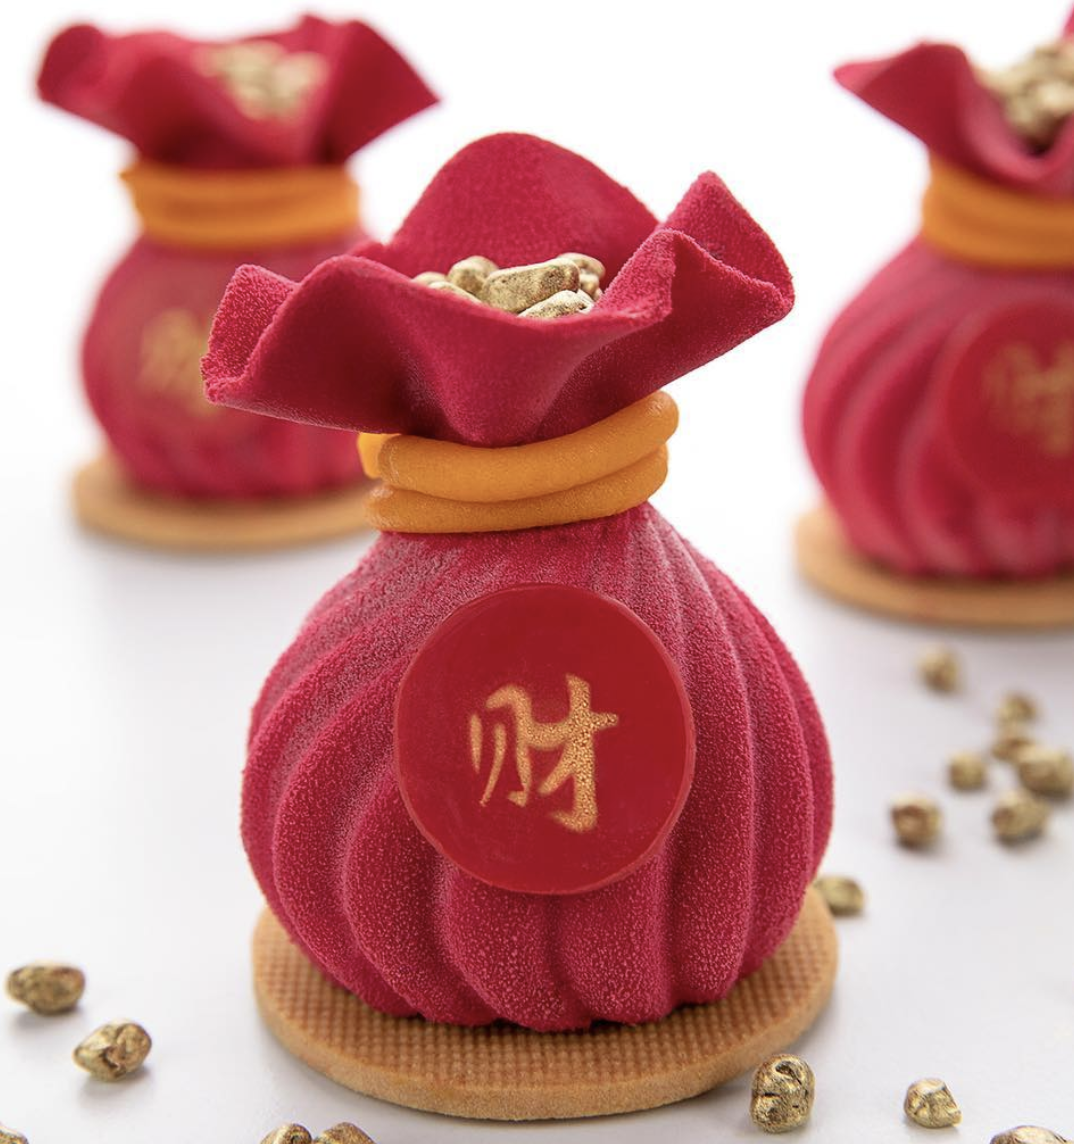
| It can be used in place of fondant for any technique. |
| It requires a bit more patience and finesse, but still easy to make and beginner-friendly. |
| Superior to fondant in flavor and versatility |
| Ideal for sculpting detailed decorations |
| Modeling Chocolate tastes better, especially if you use a good quality chocolate. |

What’s the best chocolate to use for your modeling chocolate?
Since there are only 2 ingredients in the recipe, quality matters. The better tasting the chocolate you use, the better tasting your modeling chocolate will be. Here are a few tips to keep in mind:
- Bittersweet, semi-sweet and dark chocolate make excellent modeling chocolates all couverture chocolate.
- Because of the added milk products, milk chocolate is not idea for modeling chocolate and can break easily.
- Compound chocolate (which has hydrogenated fats instead of cocoa butter) is not stable enough for modeling chocolate and not as tasty.
- Look for white chocolate that contains real cocoa butter (not hydrogenated fats), this will result in a more stable modeling chocolate that has a beautiful ivory color too (our white chocolate couverture is a great example of white chocolate made with real cocoa butter).
- What’s the best syrup to use for your modeling chocolate?
- The most commonly used syrup in modeling chocolate recipes is light corn syrup, which looks clear in the bottle. Golden syrup is used in the UK or Australia and available on Amazon if you’re looking for a corn syrup alternative. Rice or tapioca syrup can be used as well, but we haven’t personally tested these in the recipe. If you’ve tried either of these, leave a comment below and let us know.
Basic Modeling Chocolate Recipes
LARGE BATCH
- 5 cups (40oz) dark chocolate chips
- 8 oz light corn syrup
- MEDIUM BATCH
- 1 lb chocolate morsels or chips
- ½ cup light corn syrup
SMALL BATCH
- 12 oz chocolate morsels or chips
- ⅓ cup light corn syrup
- GOLDEN SYRUP RECIPE
- 200g chocolate morsels or chips
- 60g Golden Syrup (like Lyle’s Golden Syrup)
The Foolproof Way To Make Modeling Chocolate:
- Here is the simple technique for perfect modeling chocolate every time.
- Recommended tools:
- 2 Microwave-safe bowls, one large, one small
- Rubber spatula
- Plastic Wrap (or parchment paper)
- Step 1: Place chocolate chips in microwave-safe bowl and microwave for 30 seconds, remove bowl, stir with a spatula, microwave another 30 seconds, remove bowl, stir. Repeat this in 30 second intervals until the chocolate is about 90% melted. If there are a few small chunks, simply stir until fully melted (residual heat should melt the remaining chocolate at this point - it’s a good trick so the chocolate doesn’t burn). When chocolate looks silky smooth with no lumps, you’re ready for step 2.
- Step 2: Warm your syrup in the microwave for about 35 seconds.
- Step 3: Slowly drizzle your syrup over the melted chocolate and gently fold into the chocolate until no streaks remain, scraping down the sides as you go. Mix just until fully incorporated. Do not overmix. It should still look shiny. If it starts to look crumbly or super greasy stop.
- Step 4: Place a large piece of plastic wrap (or parchment) flat on table and transfer your modeling chocolate to the plastic wrap on one half. Fold the other half over top to cover and gently flatten the chocolate with your hands.
- Step 5: Let sit overnight on the counter or in the fridge.
- Step 6: Remove from plastic wrap and begin kneading with your hands until pliable. Should come together fairly quickly.
- That’s it! Now you can use it for your decorations. Check out the links below for some great video tutorials of the process.
What if your modeling chocolate breaks?
- If you overwork the chocolate, the emulsion with break causing it to look greasy and crumbly, but that doesn’t mean you have to throw it away or start over. You can save it! Here are some quick tips to save a broken batch of modeling chocolate:
- Put it back in the microwave for 20-30 seconds
- Stir it with your spatula - it will look super oily at this point, but you want to work out the oil to save it
- Fold and stir to force out the oil and work the solids back in
- Place it in a sieve to strain off some of the excess oils
- Transfer back to bowl, mix, strain again, repeat this once or twice to remove that oil
- Then start lifting the chocolate with your spoon, almost like you’re stretching taffy
- Blot excess oil if needed, but it’s ok if it’s a little oil at this point
- Continue to lift and pull as you stir
- Once it looks smooth like taffy, wrap in plastic and let set in fridge overnight
- By the next day, it should be good as new! Remove from plastic wrap and knead as you would regular modeling chocolate
- Since some of the oils have been removed, it’s actually a little stronger now!
- A special thanks to Shawna McGreevy and the Wicked Little Cake Company for these two fabulous YouTube tutorials. Check out the videos to see these techniques in action:
- https://youtu.be/8oZhbQC3aSI (Foolproof Method for Making Modeling Chocolate)
- https://youtu.be/UVdbhUgZnpA (How To Fix Broken Modeling Chocolate)
- https://youtu.be/VKTMhI2QAQA (UK Recipe Without Corn Syrup)

